Powered by Blogger.
Showing posts with label Dessert. Show all posts
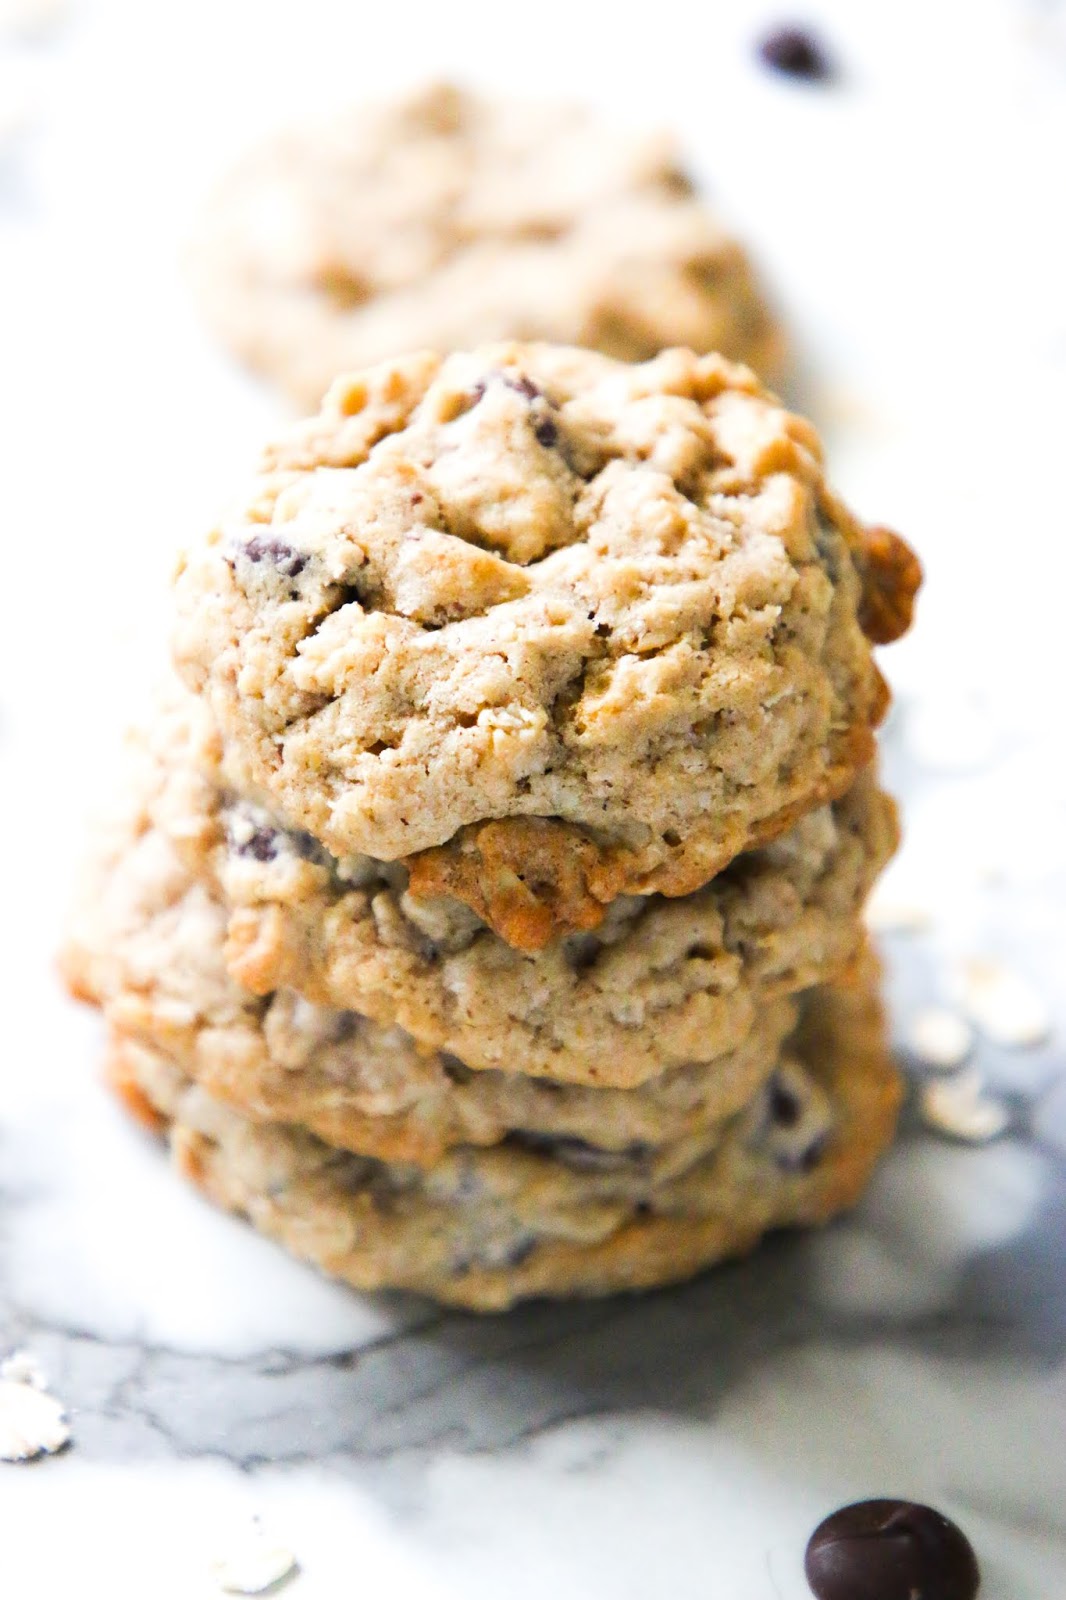
Small Batch Oatmeal Chocolate Chip Cookies

Small Batch Oatmeal Chocolate Chip Cookies

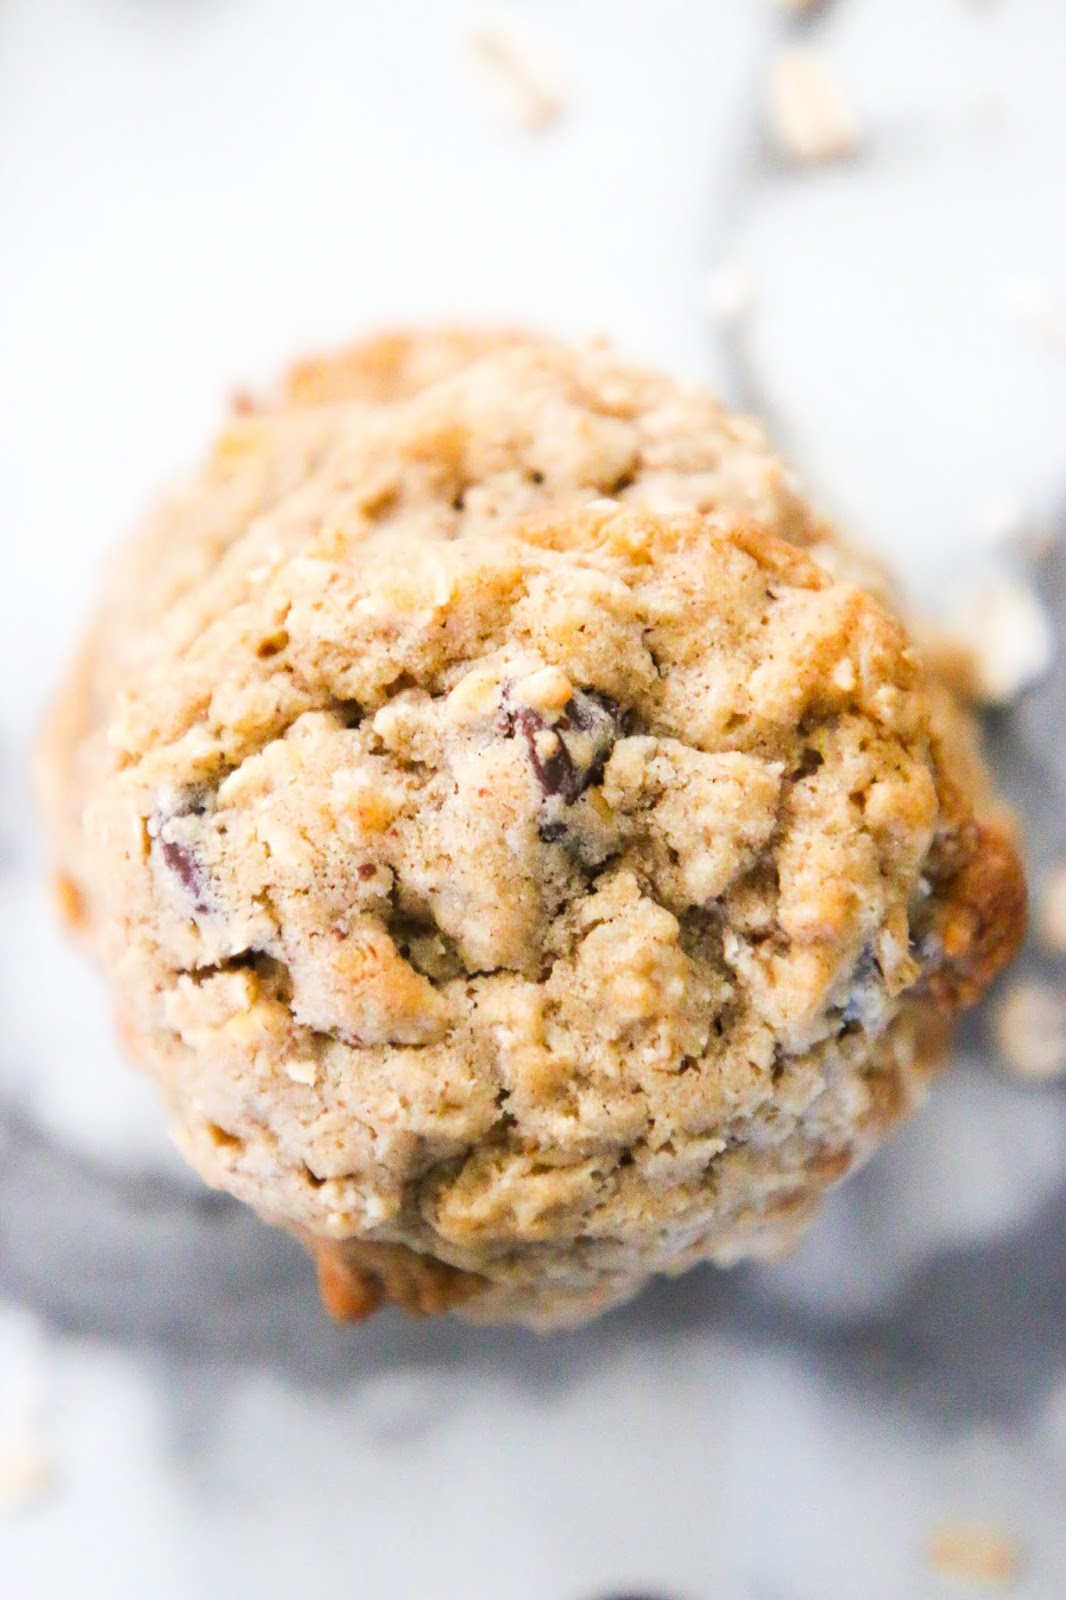
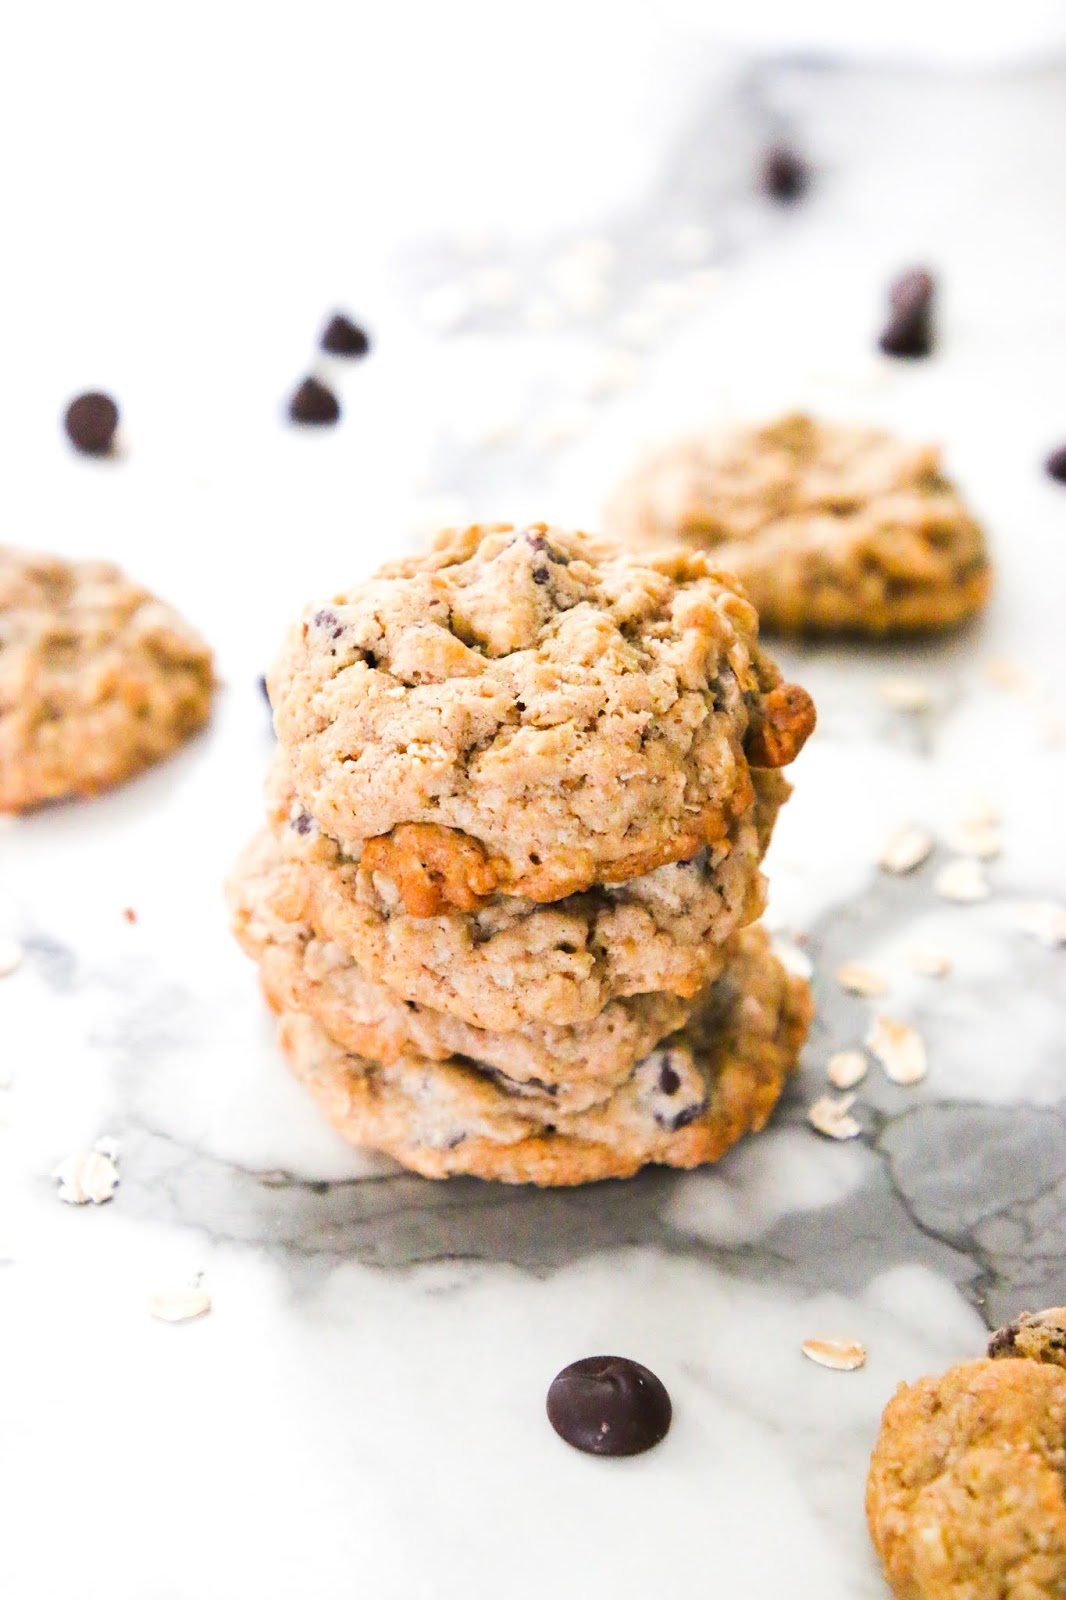
 This recipe for small batch oatmeal chocolate chip cookies is the perfect recipe to make for a quick afternoon snack for kids or yourself. The recipe is simple to make with basic pantry ingredients everyone will love! 


Small Batch Oatmeal Chocolate Chip Cookies


Derek loves oatmeal chocolate chip cookies. A lot. Strangely, it went unmentioned for the first nine years of our marriage and then all of a sudden it comes out that they're a childhood favorite that he ate all the time. At that point I set out to make the best oatmeal chocolate chip cookie recipe. These cookies are all the things you want in a cookie. Crispy on the outside, chewy on the inside, and full of delicious chocolate goodness. 


Small Batch Oatmeal Chocolate Chip Cookies:

This small batch recipe makes about eight cookies. If you're single you'll have a handful of cookies you can eat throughout the week. If you have a family with small children, it's the perfect amount to make without having a ton left overs for dessert one night. I love making small batch recipes because it means that for my small family of four we typically don't have food waste which is something I try to keep at the forefront of my mind when cooking and preparing meals for my family. 

Ingredients for Oatmeal Chocolate Chip Cookies:

Oatmeal chocolate chip cookies truly use all pantry ingredients that most people have on hand in their home. For this small batch recipe you will need:
  • 1/2 cup all purpose flour 
  • 1/4 tsp ground cinnamon 
  • 1/4 tsp baking soda 
  • 1/8 tsp salt 
  • 1/4 cup butter, softened to room temperature 
  • 1/4 cup brown sugar 
  • 1/8 cup white sugar 
  • 1/2 large egg 
  • 1/2 tsp vanilla extract 
  • 3/4 cups old fashioned oats 
  • 1/2 cup semisweet chocolate chips

Small Batch Oatmeal Chocolate Chip Cookies


Baking Tools for Cookies:

To make excellent cookies there are a few things you absolutely need. Some of my must haves are a cookie scoop for scooping dough, a thick durable sheet pan, a great hand mixer (I NEVER use a stand mixer!), and nonstick baking mats. These are all great items to invest in that will last for years to come, and will help create the best cookies time and time again. 

How to Store Cookies:

Cookies should be stored in an airtight container on the counter for up to 3-5 days. The length of time depends on where you live and what the humidity is like in your area. In Utah, we have a very dry climate so our food typically doesn't go bad like other states in the USA. If you live in the south where it's very hot and humid, you might notice your food goes stale much more quickly. 

My all time favorite containers are these light blue ones from the Chris Loves Julia Rubbermaid Collection. They're beautiful and durable. The best when it comes to form and function. 


Small Batch Oatmeal Chocolate Chip Cookies

The Best Flour For Cookies:

There are definitely going to be people out there that have strong opinions about flours, brands, health benefits, etc... Whenever I'm baking I always use white all purpose flour. Sometimes I buy organic, sometimes I purchase the generic brands at the store, but it's always white all purpose flour. I find it's the most consistent to work with and yields the same results each time I bake. 

Clearly if you have a gluten allergy this isn't going to be the option for you but this blog is also likely not for you either since I don't specialize in gluten free baking. I have had success with the Bob's Red Mill 1-to-1 flour when baking for friends who are gluten free. That might be a great starting point if you need a gluten free flour option.

Oats for Oatmeal Cookies:

When doing any baking that involves oats, I always use old fashioned oats, or rolled oats. This is the best when baking since the oatmeal hasn't been processed and typically still has the whole large flakes. Quick cooking oats have been further processed than old fashioned oats, which really just means they've been grounded into a finer consistency so that they cook faster. All my recipes always use rolled oats or old fashioned oats. The bake times are for those particular oats, and if you use a different type of oat, I can not guarantee your results. 

If you liked this post, Small Batch Oatmeal Chocolate Chip Cookies, you might also like:

                    Small Batch No Bake Cookies

                    Small Batch No Bake Cookies

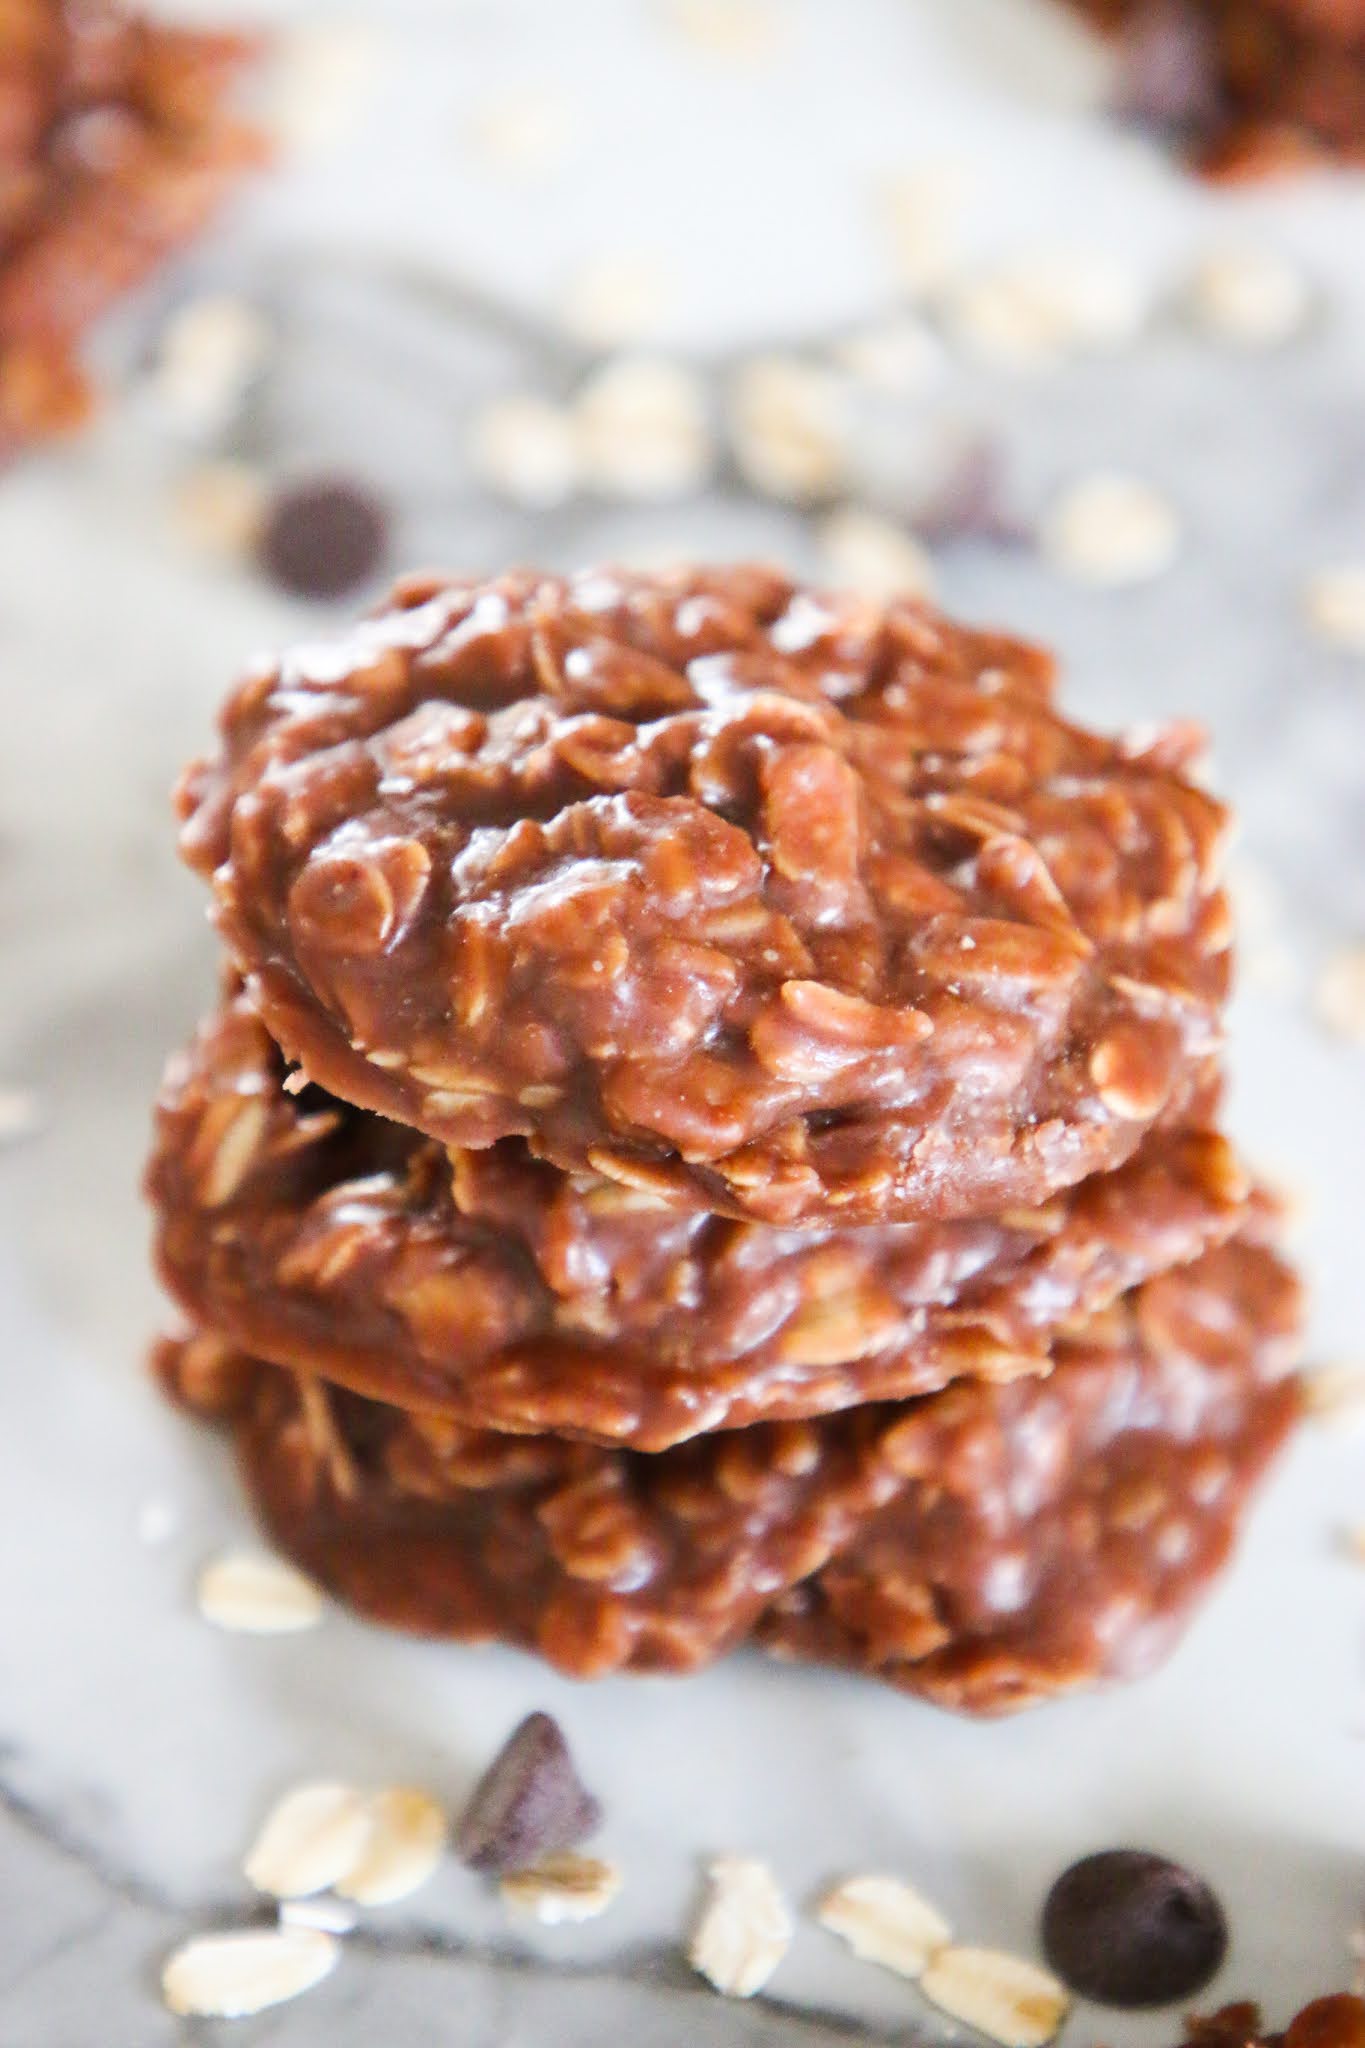
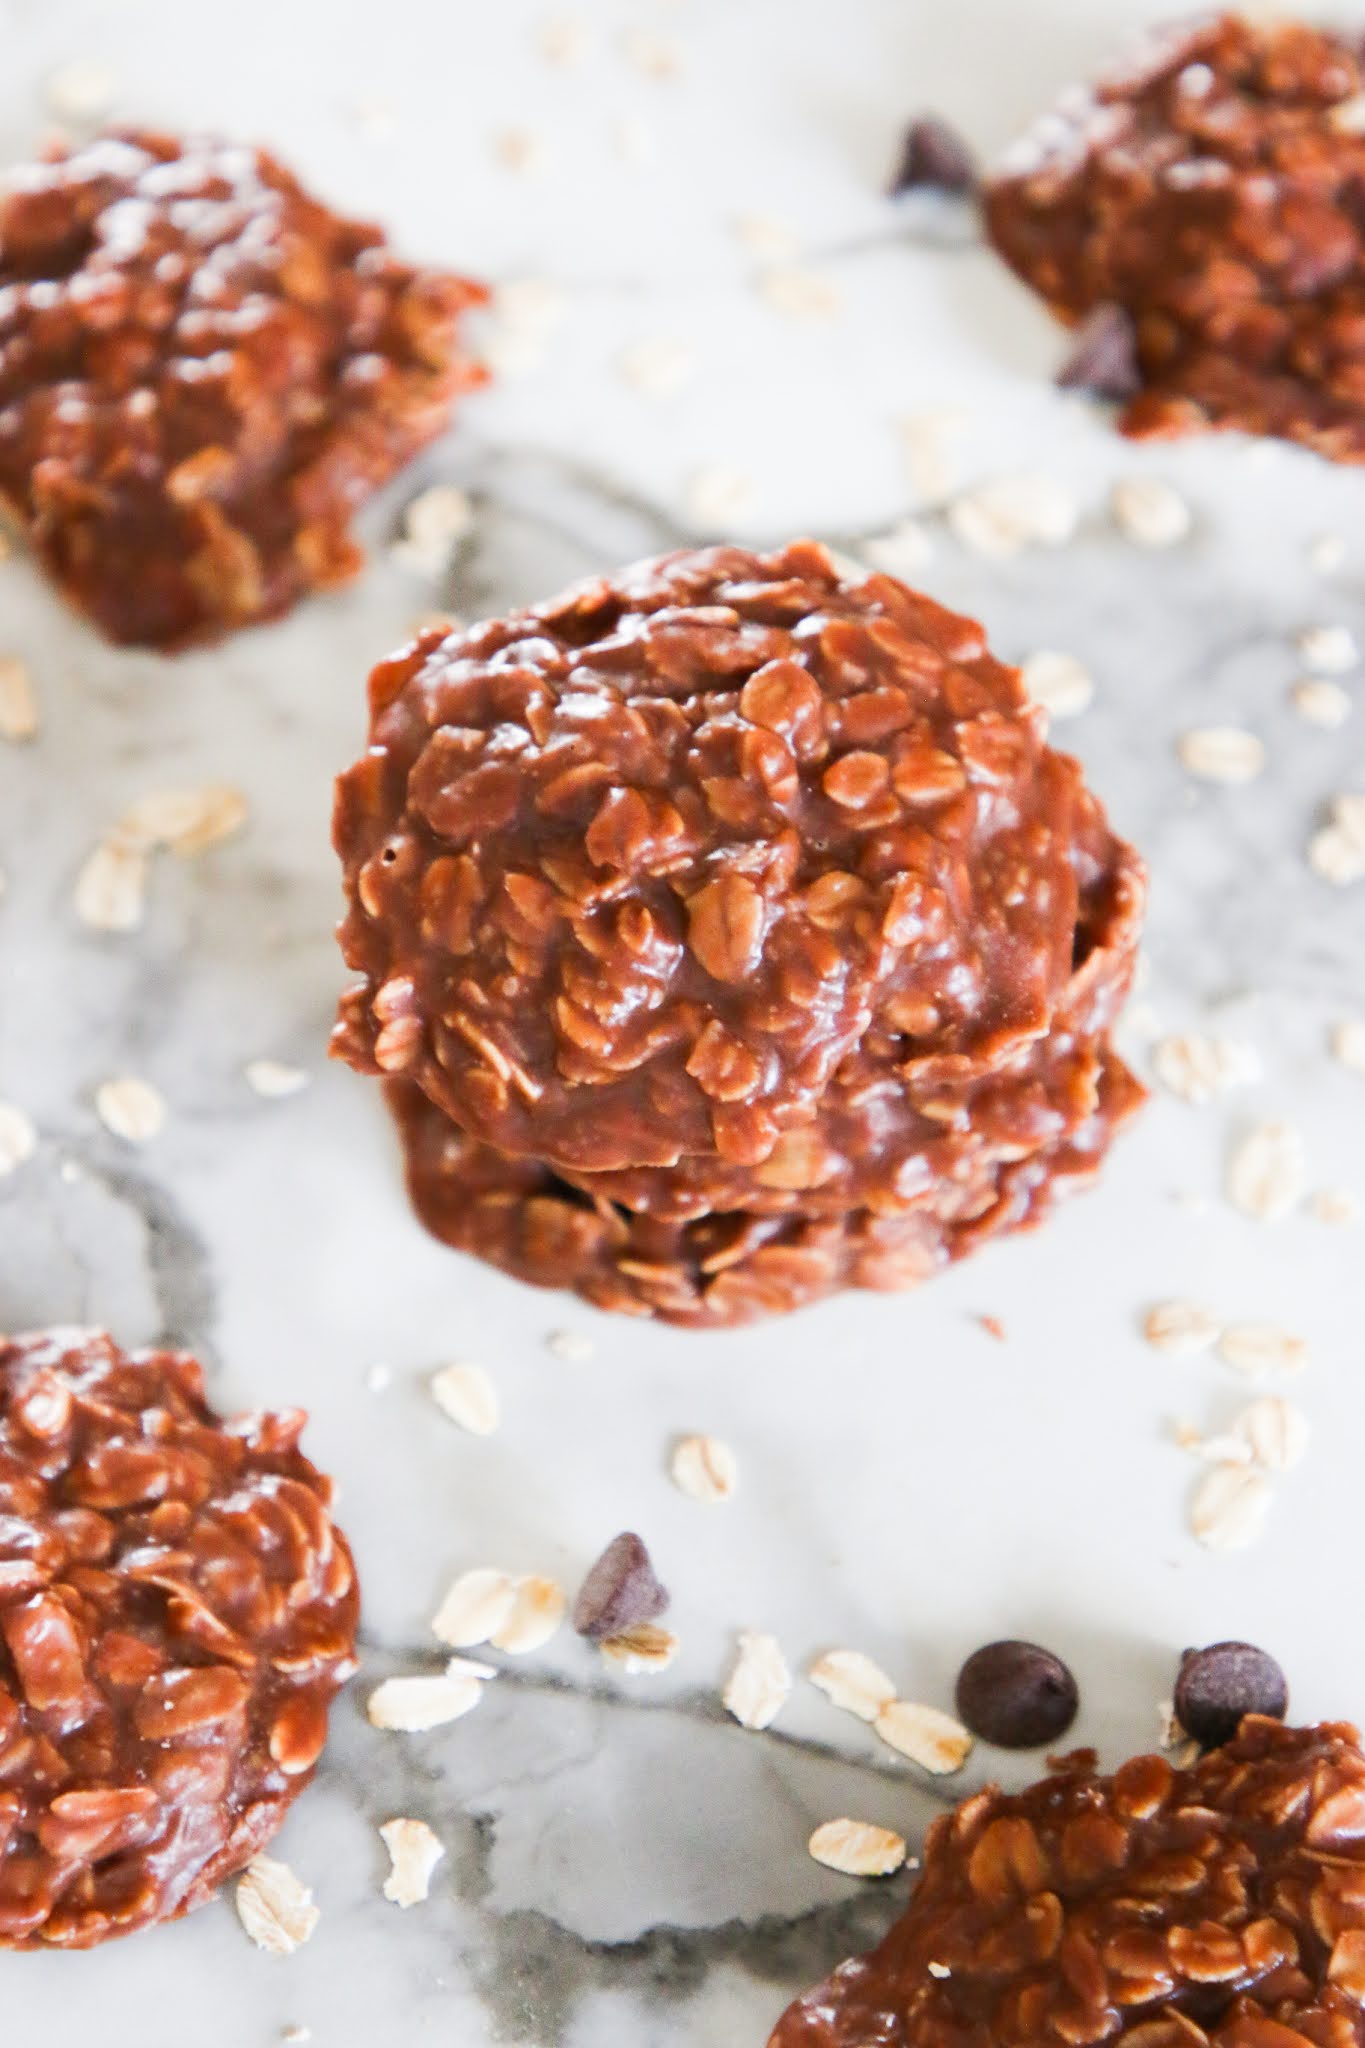
                    These small batch no bake cookies come together with a handful of pantry staple ingredients.  Mix everything together in a pot on the stove and have a delicious treat in under 30 minutes. 


                    small batch no bake cookies

                    I remember my first semester of college away from home. One of my roommates said they were going to invite people over and make some no bake cookies. My instant reaction was "so you're serving cookie dough..." Turns out no bake cookies are a real thing, and they're delicious. 


                    Small Batch No Bake Cookies:

                    Turns out they're called "no bake" cookies because... you don't bake them in the oven. Instead you mix all the ingredients together in a pot on the stove, and then you scoop them out of the pot, form them into a cookie shape, and let them cool on wax paper. The end result is a delicious cookie that is both filled with chocolate and peanut butter, held together with chunky oats and all the good things. They're an awesome go-to recipe when you need a fast and easy dessert recipe. 


                    This small batch recipe makes about 6-10 cookies depending on how big you form the cookies when they come out of the pot. You'll have enough to share with friends, or you can make spread them out and enjoy them throughout the week. 


                    small batch no bake cookies

                    No Bake Cookie Ingredients:

                    Like mentioned earlier, no bake cookies are made with a lot of pantry staple ingredients. That means they're very inexpensive to make, you should have most of the ingredients on hand, and there are minimal cooking steps. To make these cookies you will need: 

                    • 1/8 cup Butter 
                    • 1/2 cups Sugar 
                    • 1/8 cup Milk 
                    • 1 tbsp Cocoa Powder 
                    • 1/8 cup Peanut Butter 
                    • 1 cups Quick Cooking Oats 
                    • 1/2 tsp Vanilla 

                    Another perk to this recipe is that no bake cookies are gluten free. If you have a gluten allergy and need a cookie fix, this is a great option to make! 

                    How to Make Small Batch No Bake Cookies:

                    To make these small batch no bake cookies all you need to do is stir together the butter, sugar, milk, and cocoa powder together in a saucepan on the stove. Let the mixture come to a rolling boil for one minute. and then remove the mixture from the heat. Finally, mix in the peanut butter, oats, and vanilla. 

                    Once everything is well combined, use a cookie scoop to scoop the mixture into cookie ball shapes on wax or parchment paper. Allow them to fully cool and set before eating. To speed up this process you can put your wax paper on a cookie sheet, scoop the cookies out onto the cookie sheet, and then let them cool in the fridge until they're firm enough to handle. 

                    If you liked this post, Small Batch No Bake Cookies, you might also like: 

                    Individual Blueberry Cobbler

                    Individual Blueberry Cobbler

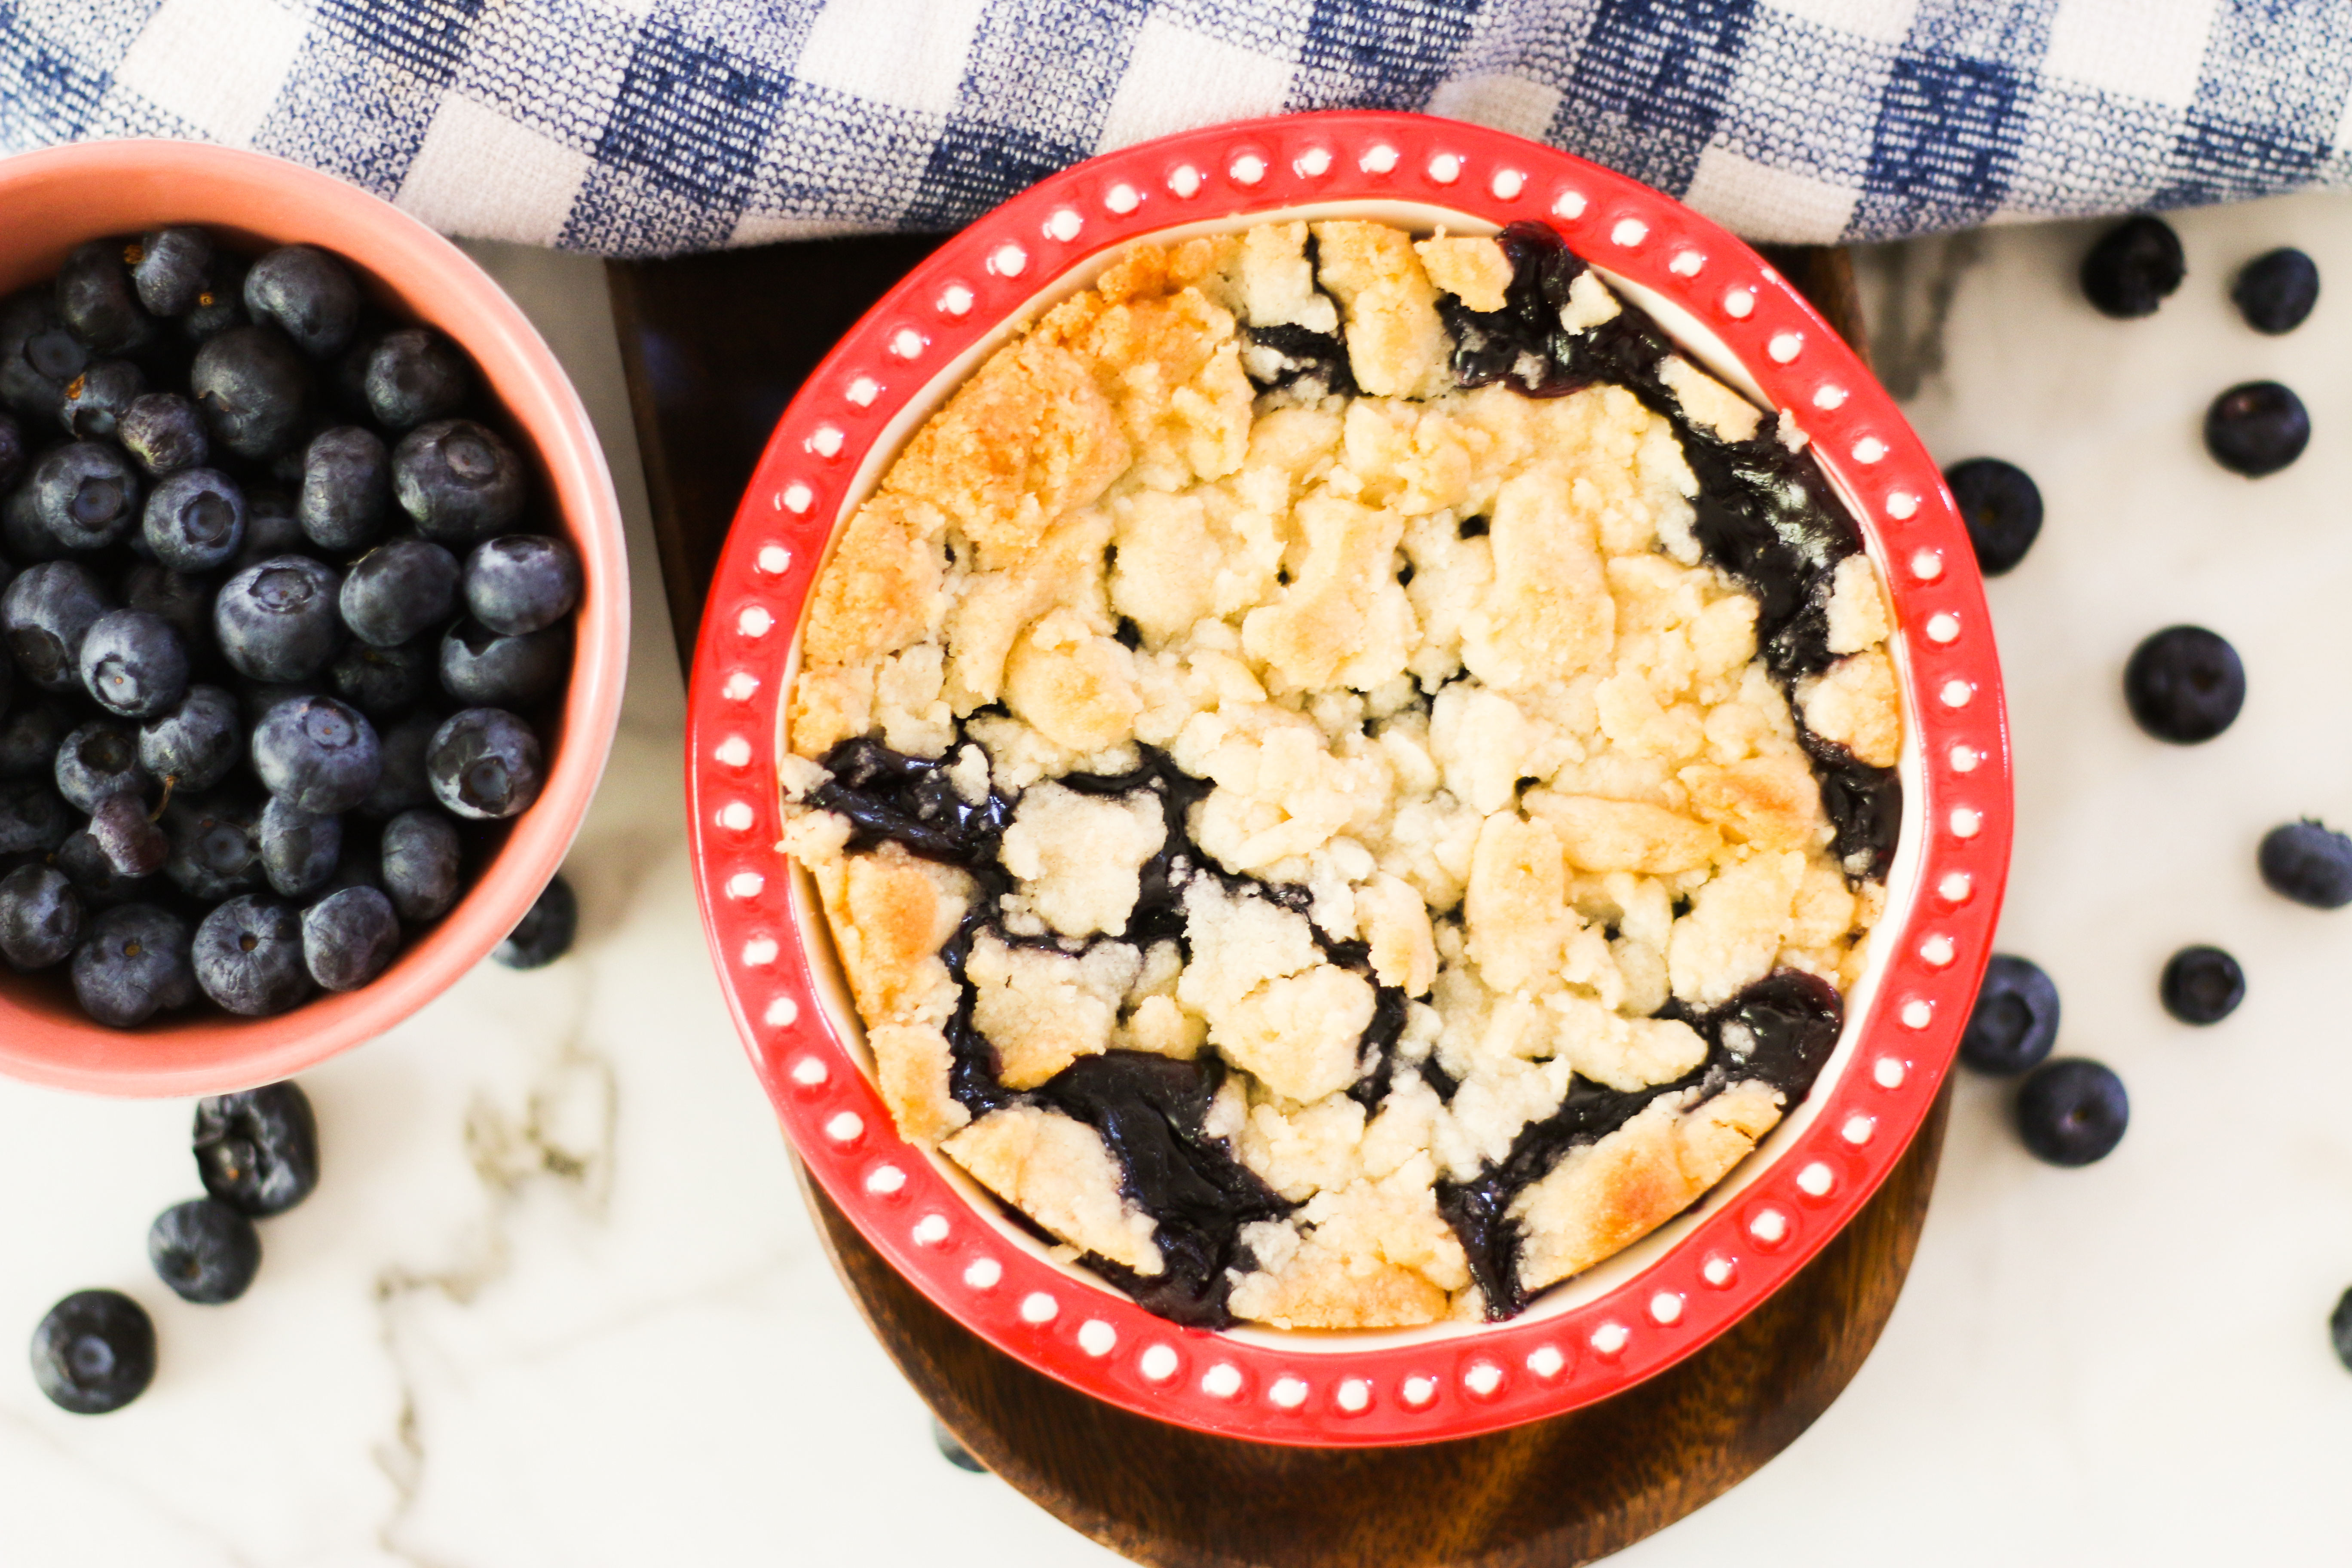
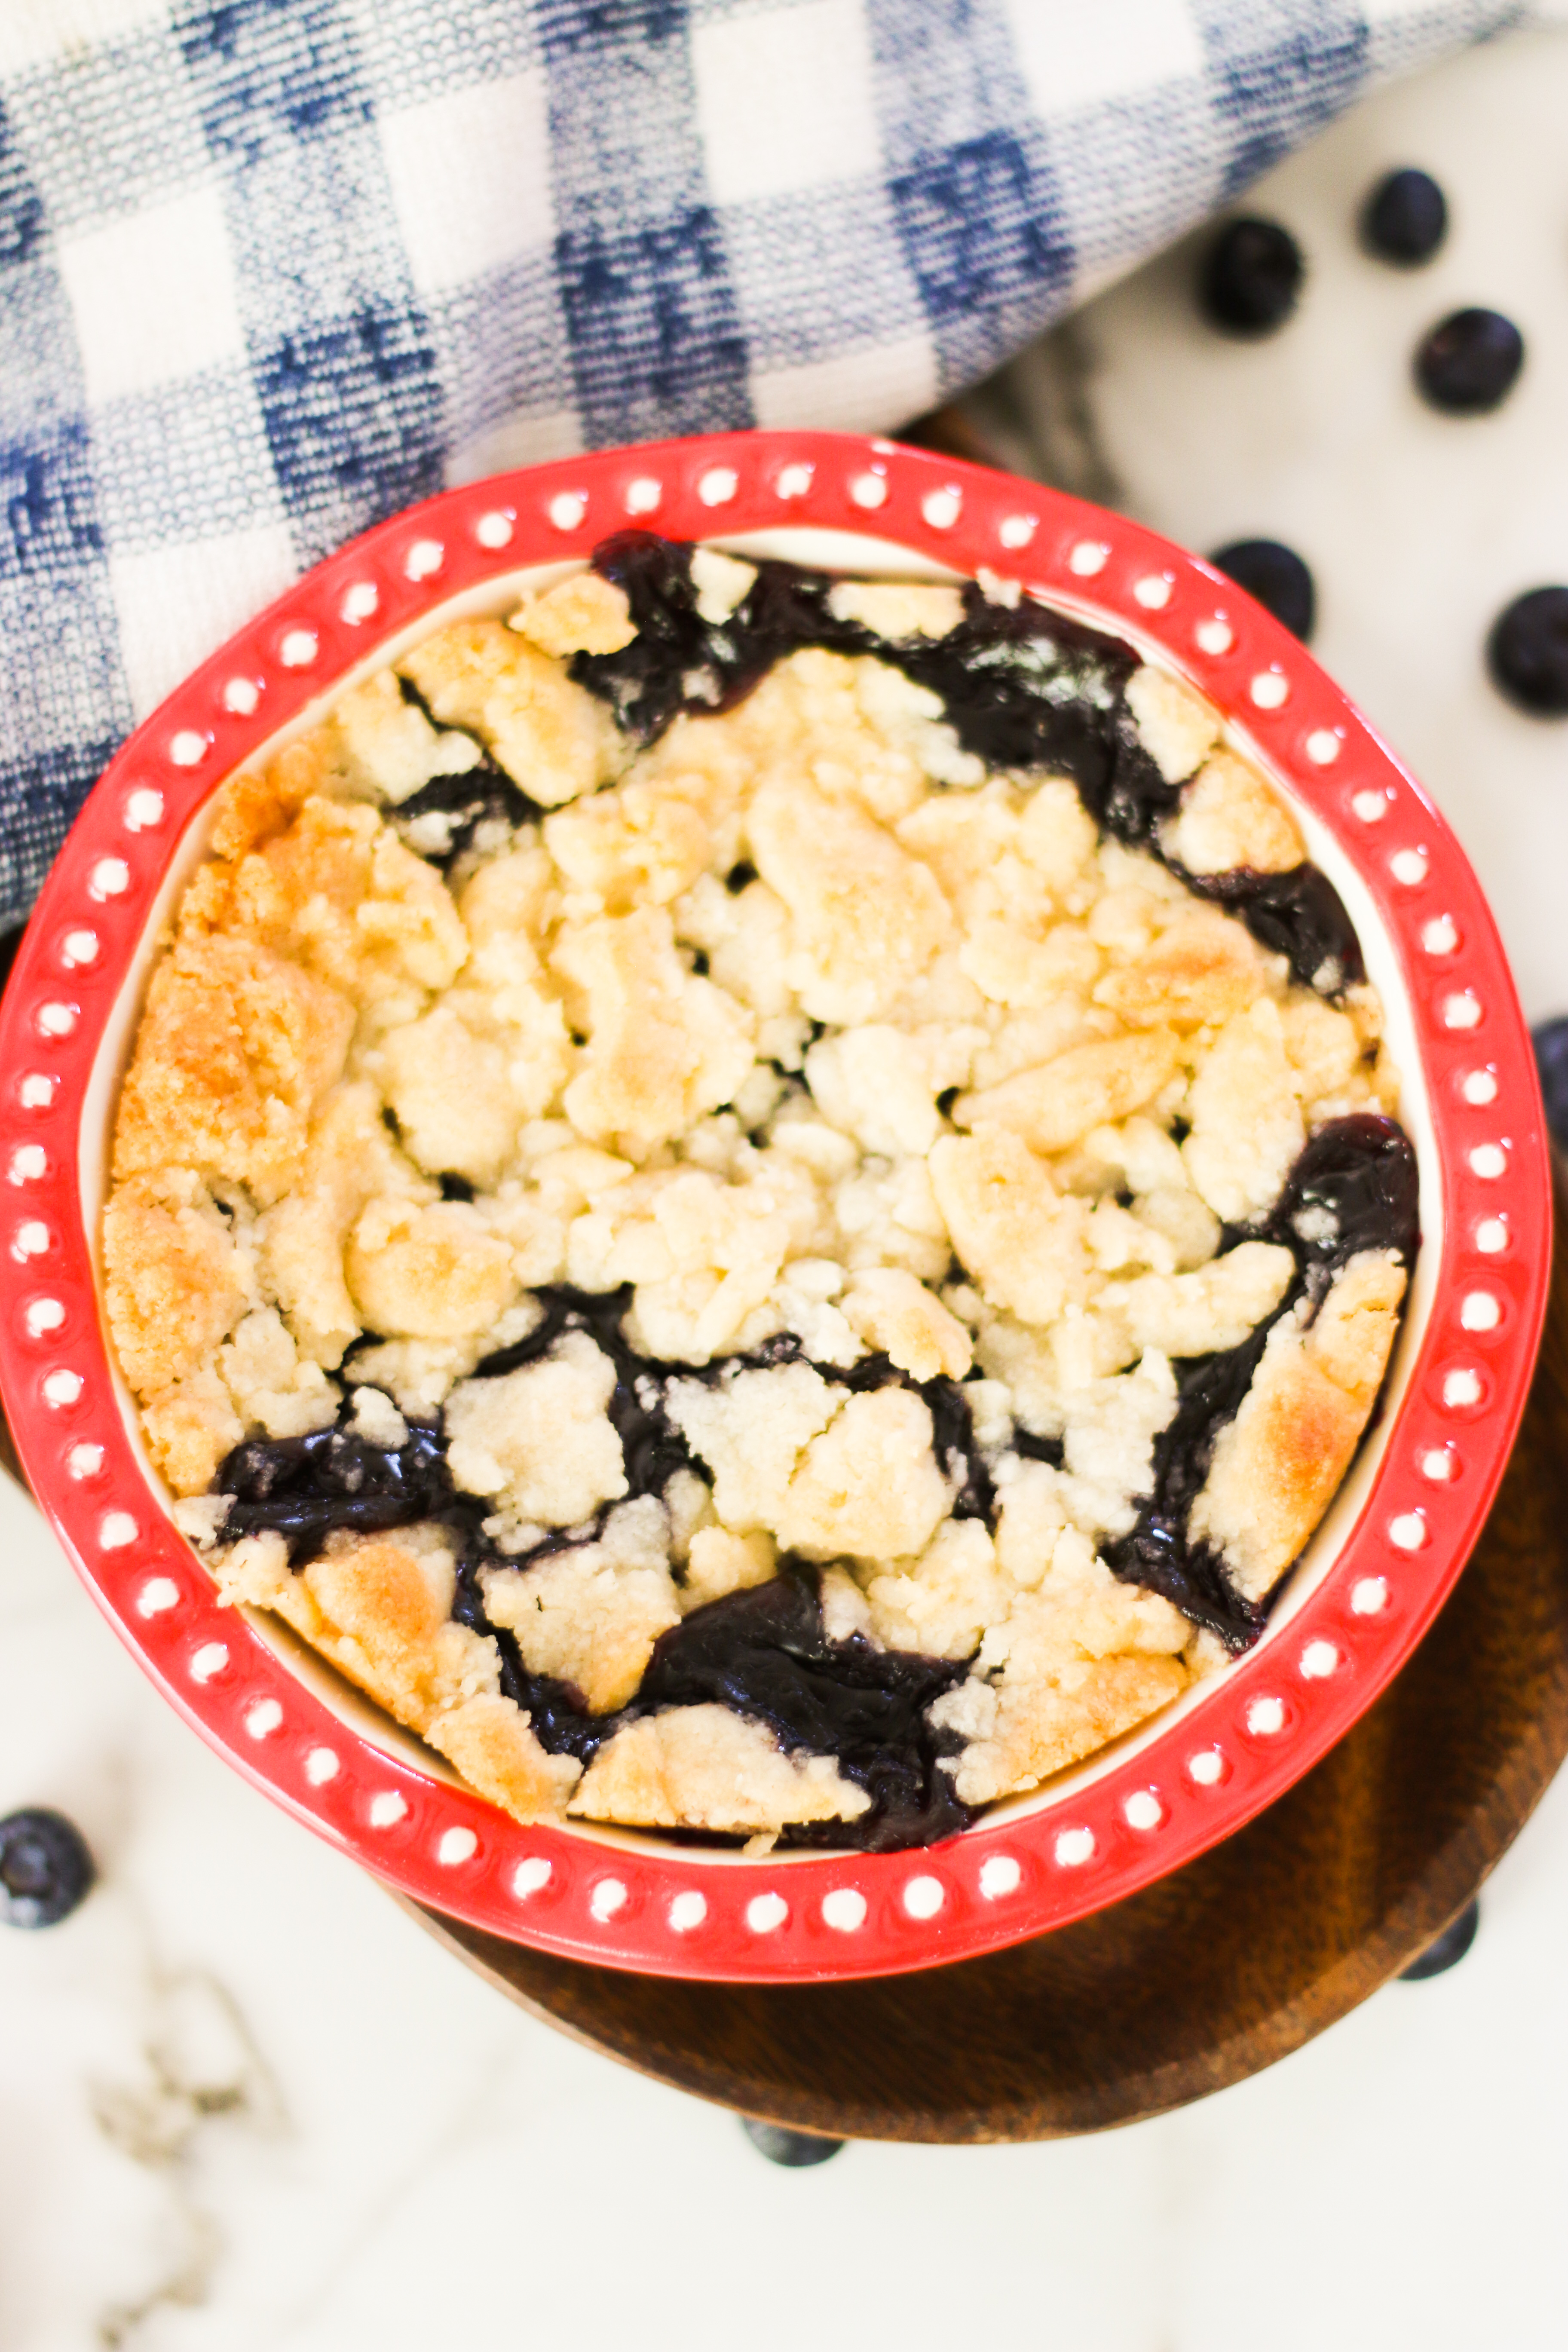
                    If you've gone blueberry picking and need an easy blueberry recipe to make, this individual blueberry cobbler won't disappoint. It's the perfect combination of tart and sweet, and comes together in just under an hour! 


                    Individual Blueberry Cobbler

                    Individual Blueberry Cobbler:

                    This individual blueberry cobbler comes together by pouring a blueberry pie filling into the bottom of a small baking dish. I have provided the directions below to make this pie filling from scratch. If you want an easier option, feel free to purchase a pie filling from the store. The only issue with that is that I personally find them too be too much syrup/liquid and not nearly enough blueberries.


                    Then you make the cobbler topping by mixing together the butter, sugar, vanilla, baking powder, and salt. Once the mixture comes together and resembles a cookie dough mixture, sprinkle it on top of the pie filling before baking in the oven for 40 minutes.

                    The Difference Between a Cobbler and a Crisp:

                    The main difference between a crisp and a cobbler is that cobblers traditionally have more of a biscuit dough topping while a crips is usually made from a combination of oats and sugar, and resembles more of a granola consistency. Cobblers are typically a heavier dessert while crips are often lighter. 

                    Individual Blueberry Cobbler

                    Mini Baking Dishes:

                    If you're frequently making single serving recipes, you should get cookware to better suite these recipes. Some of my favorite smaller serving bakeware options are these five inch pie plates that I used for this recipe, these ramekins, and this small casserole dish.


                    All of my cook times for these recipes are based off of using the appropriate size baking dish, so it is important to use the right equipment. If you use a large baking dish and just have food along the very bottom of the pan, the food will burn if the dish is too large. Cooking in the right size dish means that there is the correct depth for the foods in the pan, and the cook times will be more accurate. 


                    Individual Blueberry Cobbler


                    Can Huckleberries Instead of Blueberries?

                    If you live in Utah or Idaho, you know there are a plethora of wild huckleberries available this time of year. You can definitely substitute the blueberries in this recipe for huckleberries if you have them on hand. If you choose to use huckleberries, try to use the ones that are more purple in color than red, the red ones tend to be too tart. 


                    If you liked this post, Individual Blueberry Cobbler, you might also like:

                    Single Serving Apple Crisp

                    Single Serving Apple Crisp

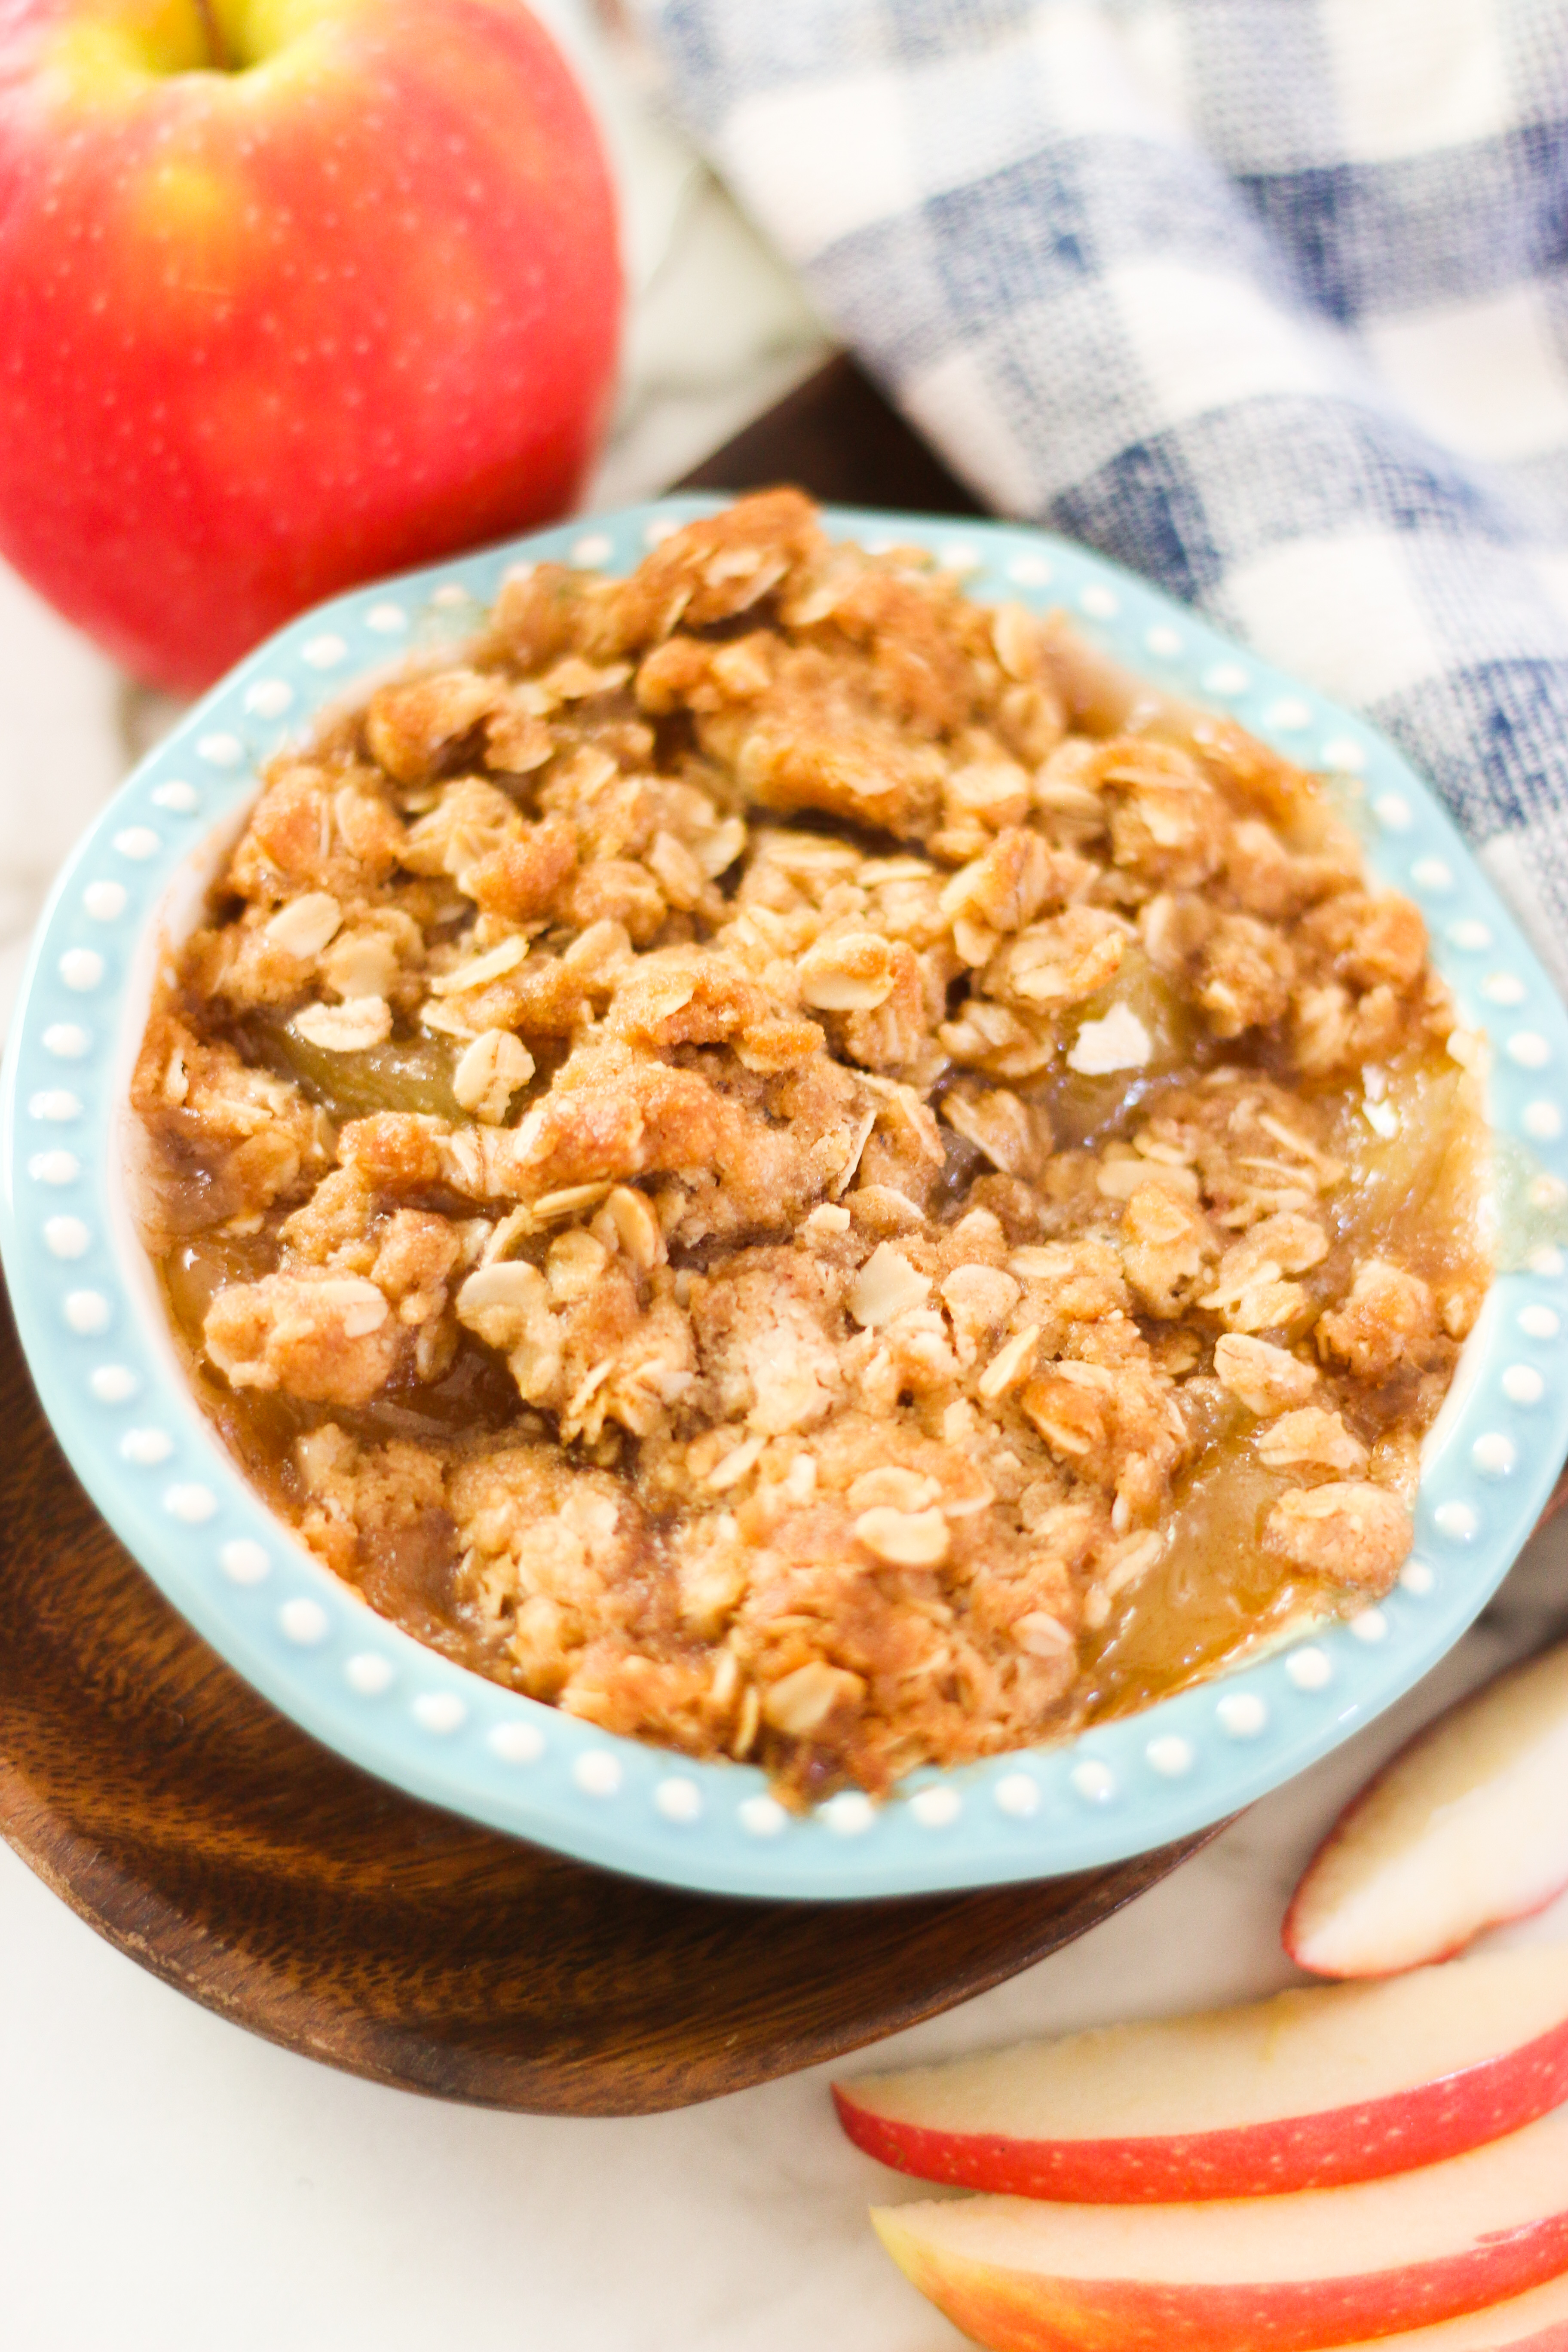
                    Single serving apple crisp is the perfect treat to make when you have an abundance of apples on hand. This recipe comes together in a little over 30 minutes, but it won't take that long to eat. 


                    single serving apple crisp


                    Single Serving Apple Crisp:

                    This single serving apple crisp recipe comes together with a lot of basic pantry ingredients. If uses the same apple pie base filling as my single serving apple pie recipe, with the addition of a brown sugar oat crumble topping. 


                    If you want to make this recipe even easier, you could use an apple pie filling purchased from the grocery store, and then bake it in a mini baking dish with the crumb mixture on top and you would have a super easy single serving apple crisp with half the work. If you enjoy small batch cooking from scratch like I do, continue on with the rest of this recipe. 


                    single serving apple crisp


                    The Difference Between Crisp and Cobbler:

                    The major difference between a crisp and a cobbler is the topping. Essentially all crisp and cobblers are a fruit pie filling mixture poured into the bottom of a baking dish with no pie crust. Then it's a choose your own adventure with whether or not you want a crisp or a cobbler.  A crisp traditionally is a crumble mixture made with oats, flour, and brown sugar. A cobbler is traditionally more like a biscuit topping that bakes down into the pie filling mixture. The result is a cake/biscuit on top, with warm fruit filling on the bottom. A crisp is more of a lighter dessert, where a cobbler is much more filling.


                    Mini Baking Dishes:

                    When making single serving recipes, mini baking dishes are important. I used my five inch pie plate for this single serving apple crisp recipe. Some other small baking dishes that I love are this mini casserole dish, and these plain white ramekins. Those are the three bakeware items are what I use for all of my baked recipes.


                    single serving apple crisp


                    The Best Apples for Apple Crisp:

                    I definitely prefer to bake with more tart than sweet apples. For the longest time I only ever baked with granny smith apples. Recently though I started using pink lady apples and I think they're the absolute best! They're the perfect balance of tart and sweet without being too tart like a lot of granny smith apples. I recommend using pink lady apples in all of my recipes. 


                    If you liked this post, Single Serving Apple Crisp, you might also like:

                    Mini Peach Pie

                    Mini Peach Pie

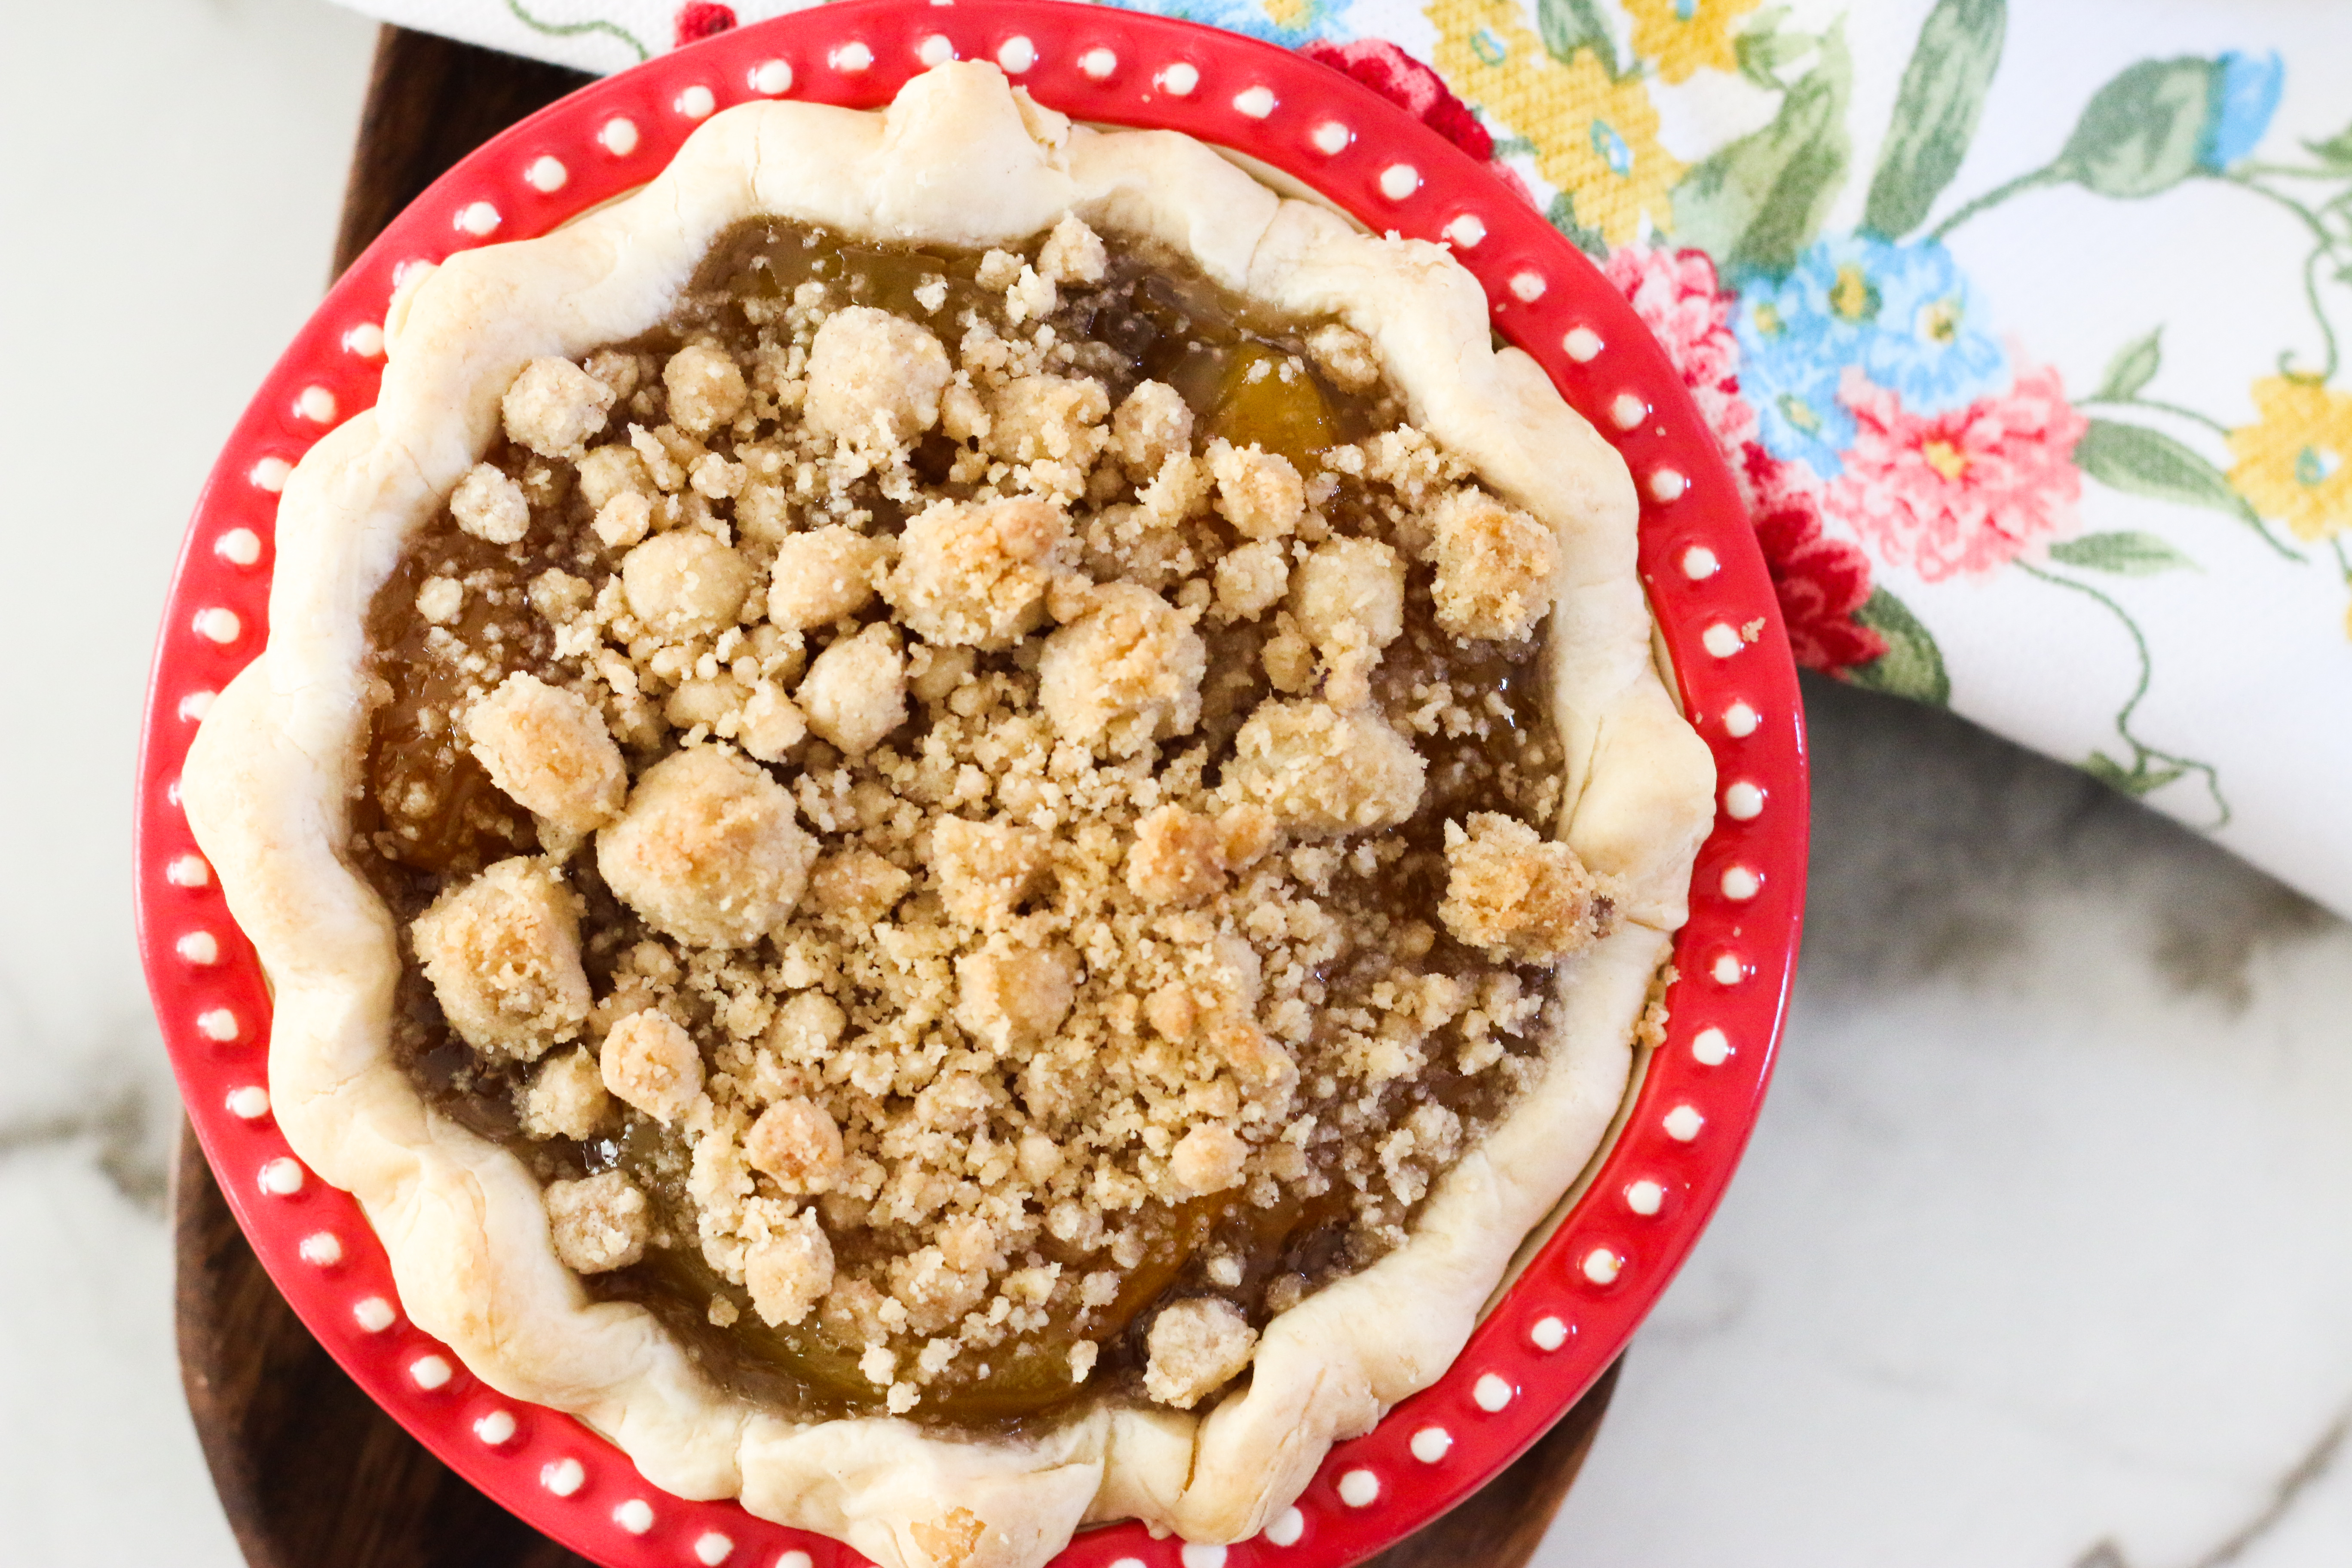
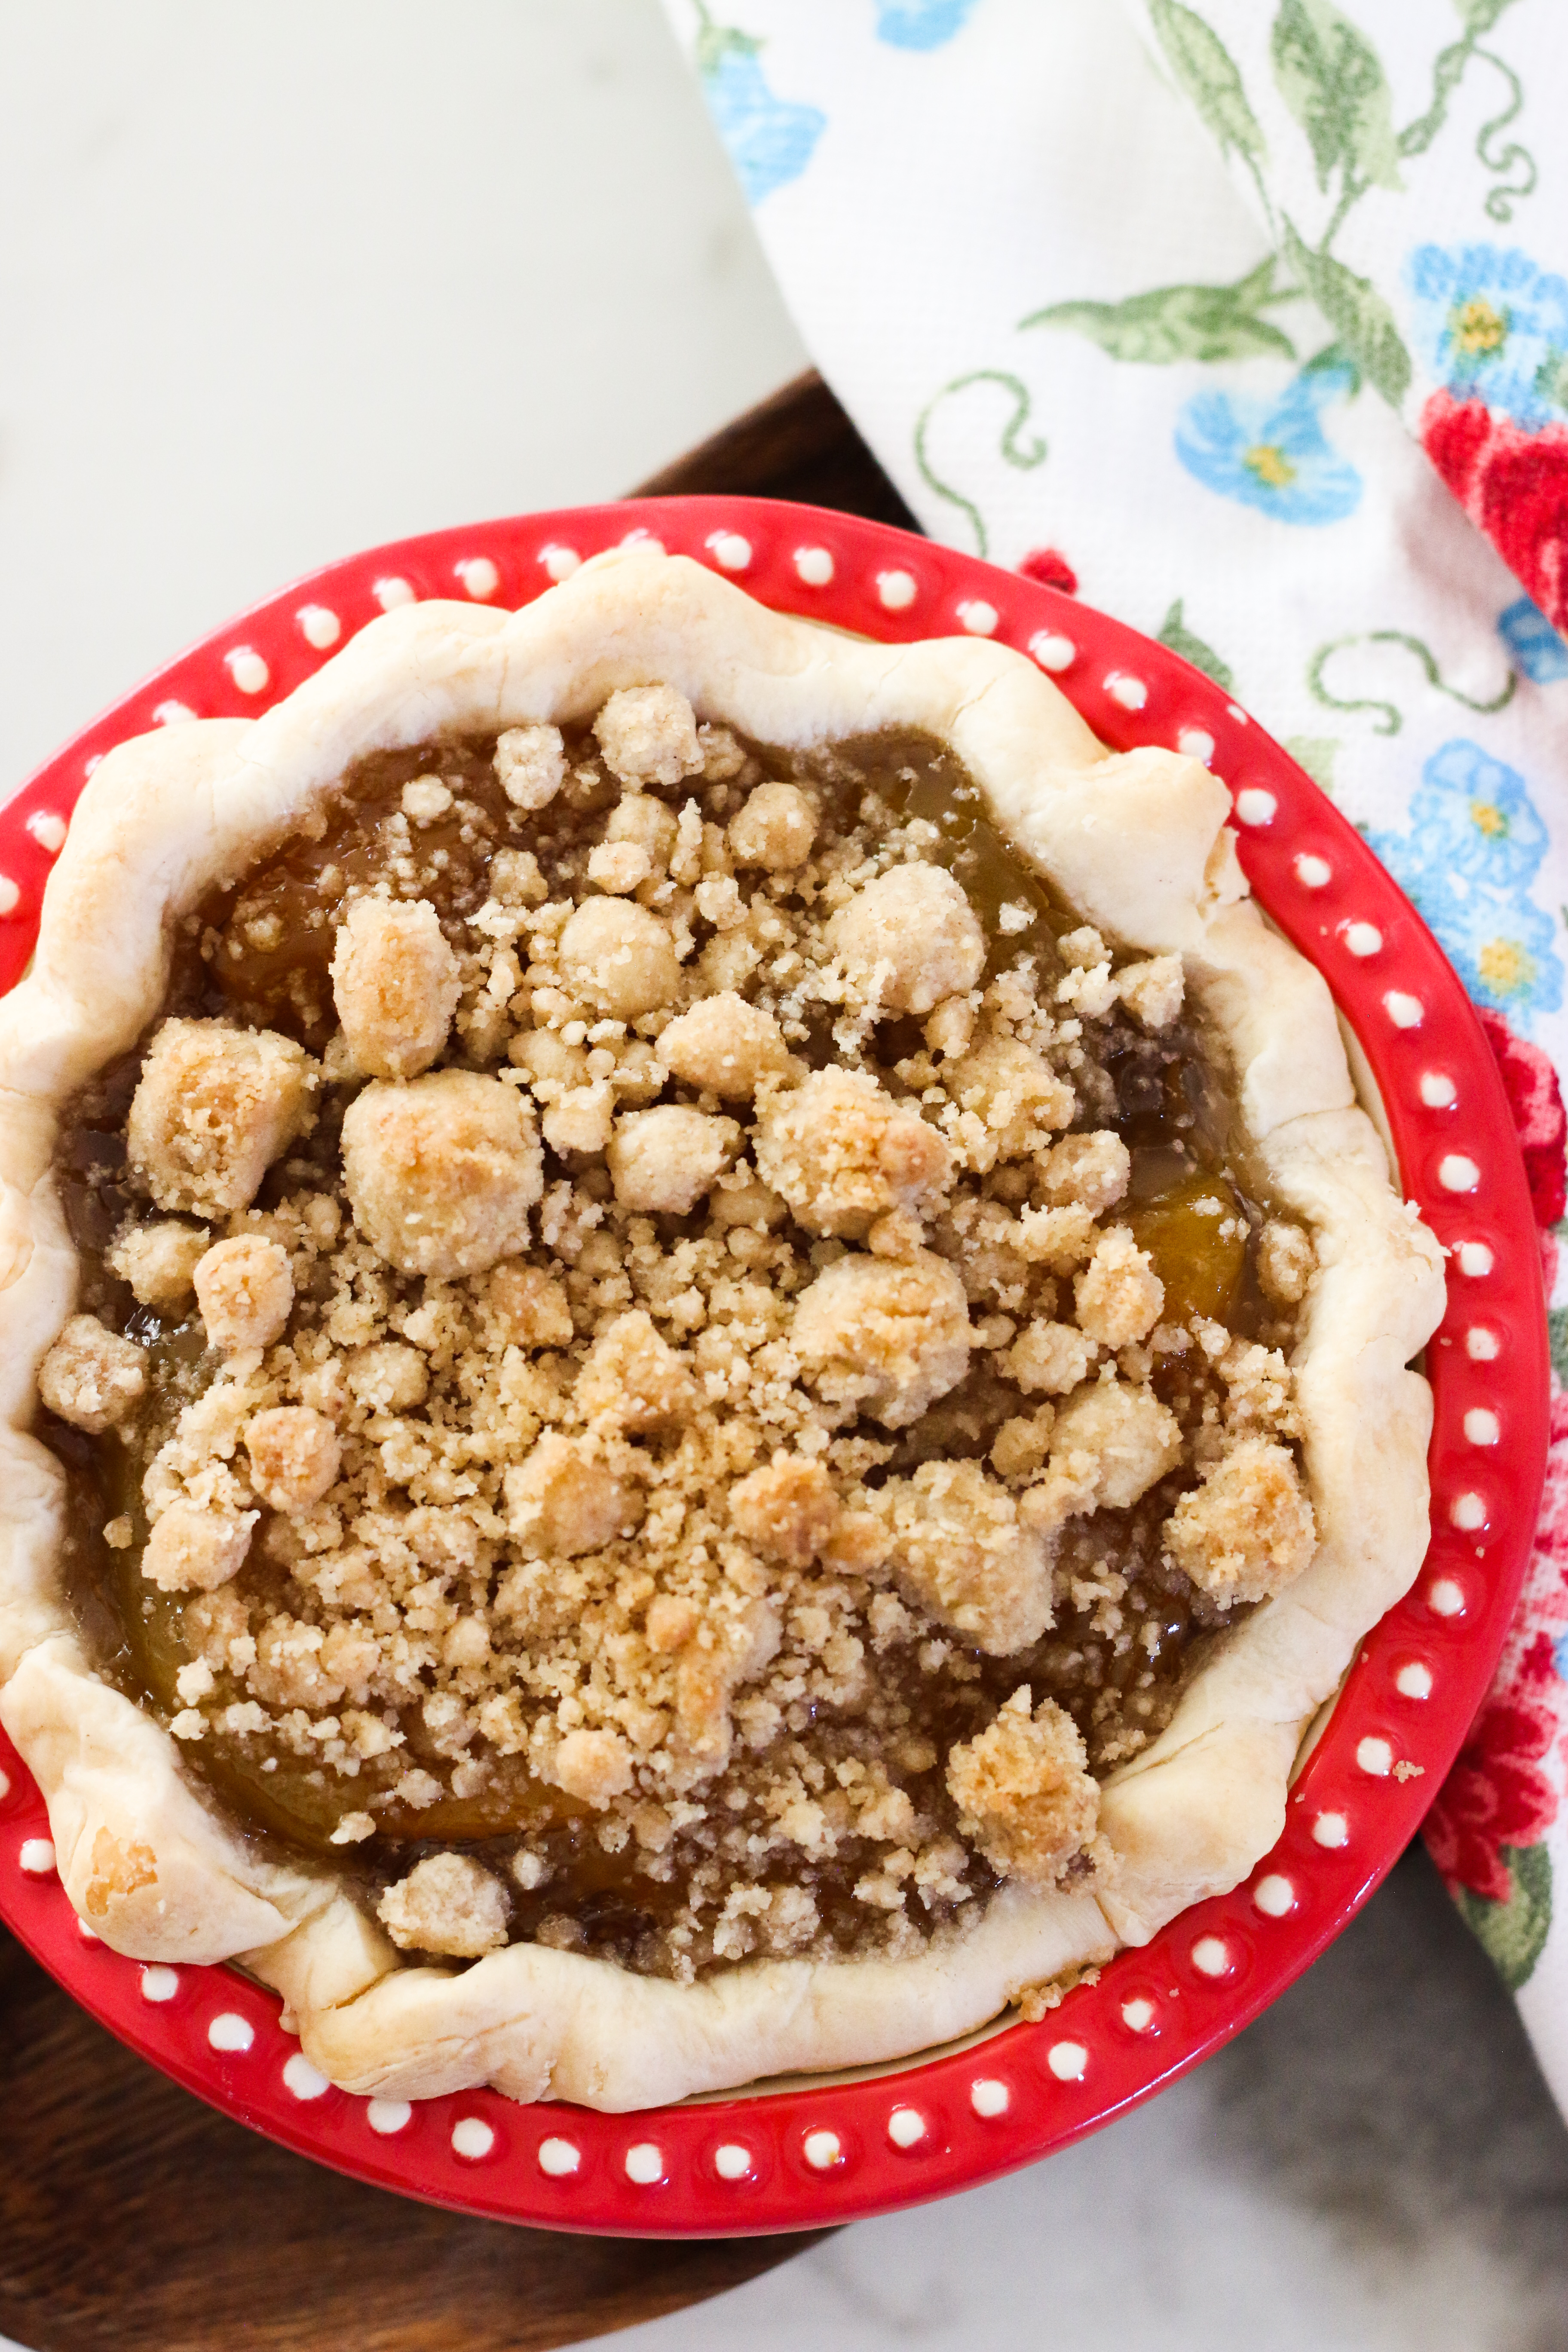
                    This mini peach pie is the perfect summer treat to use up those peaches you have from your summer harvest. Even if you don't have a garden, take advantage of all the in-season peaches at your local grocery store!


                    Mini peach pie

                    Mini Peach Pie:

                    This mini peach pie recipe is super easy to make. All you need to do is place your refrigerated pie crust into a small pie plate. Then you slice your peaches and put them into the pie plate on top of the crust. The you mix together the nutmeg and sugar over the peaches. Finally you whisk together the eggs and cream and pour that on top of the peaches. Then all you need to do is sprinkle on the crumb topping and bake in the oven. It's super easy, and I love that you don't need to cook the peaches on the stove top beforehand. 

                    Crumb Topping for Peach Pie:

                    Personally, I prefer a crumb topping over a pie with a pie crust top any day of the week. If we differ in this opinion, that is completely okay. We can agree to disagree. To make the crumb topping for this pie you will need:
                    • 1/4 cup Flour
                    • 2 tbsp Brown Sugar
                    • 1/4 cup Rolled Oats
                    • 2 tbsp Butter
                    • 1/8 tsp Cinnamon

                    Simply combine all ingredients together until they form a crumbly mixture, and then sprinkle on top of your peach pie before it goes into the oven. 


                    Mini peach pie

                    Kitchen Tools for Mini Peach Pie:

                    This recipe is so simple there really aren't major tools you need to make this pie. I did use a 5 inch mini pie plate, which is really the only key tool you need for this recipe. I've been using this collection of 5-inch pie plates from The Pioneer Woman Collection at Walmart for the last several years and I have really loved them!

                    The Easiest Way to Make a Mini Peach Pie:

                    If you want to completely take the easy route on this recipe you could simply purchase the mini pie plates from Walmart, use a refrigerated pie crust, and a canned peach pie filling. All you would need to do is put the pie crust in your pie dish, spoon some pie filling into the crust, and then sprinkle with the crumb topping and you would have a very easy peach pie with even less effort. 

                    Mini peach pie

                    Mini Pie Crust:

                    You can definitely use a refrigerated pie crust for this recipe, it's the route I personally chose. If you want, you can make your own mini pie crust, and I have outlined the recipe and how to go about that in this mini pie crust recipe here.

                    If you liked this post, Mini Peach Pie, you might also like:
                    Mini Cherry Pie

                    Mini Cherry Pie

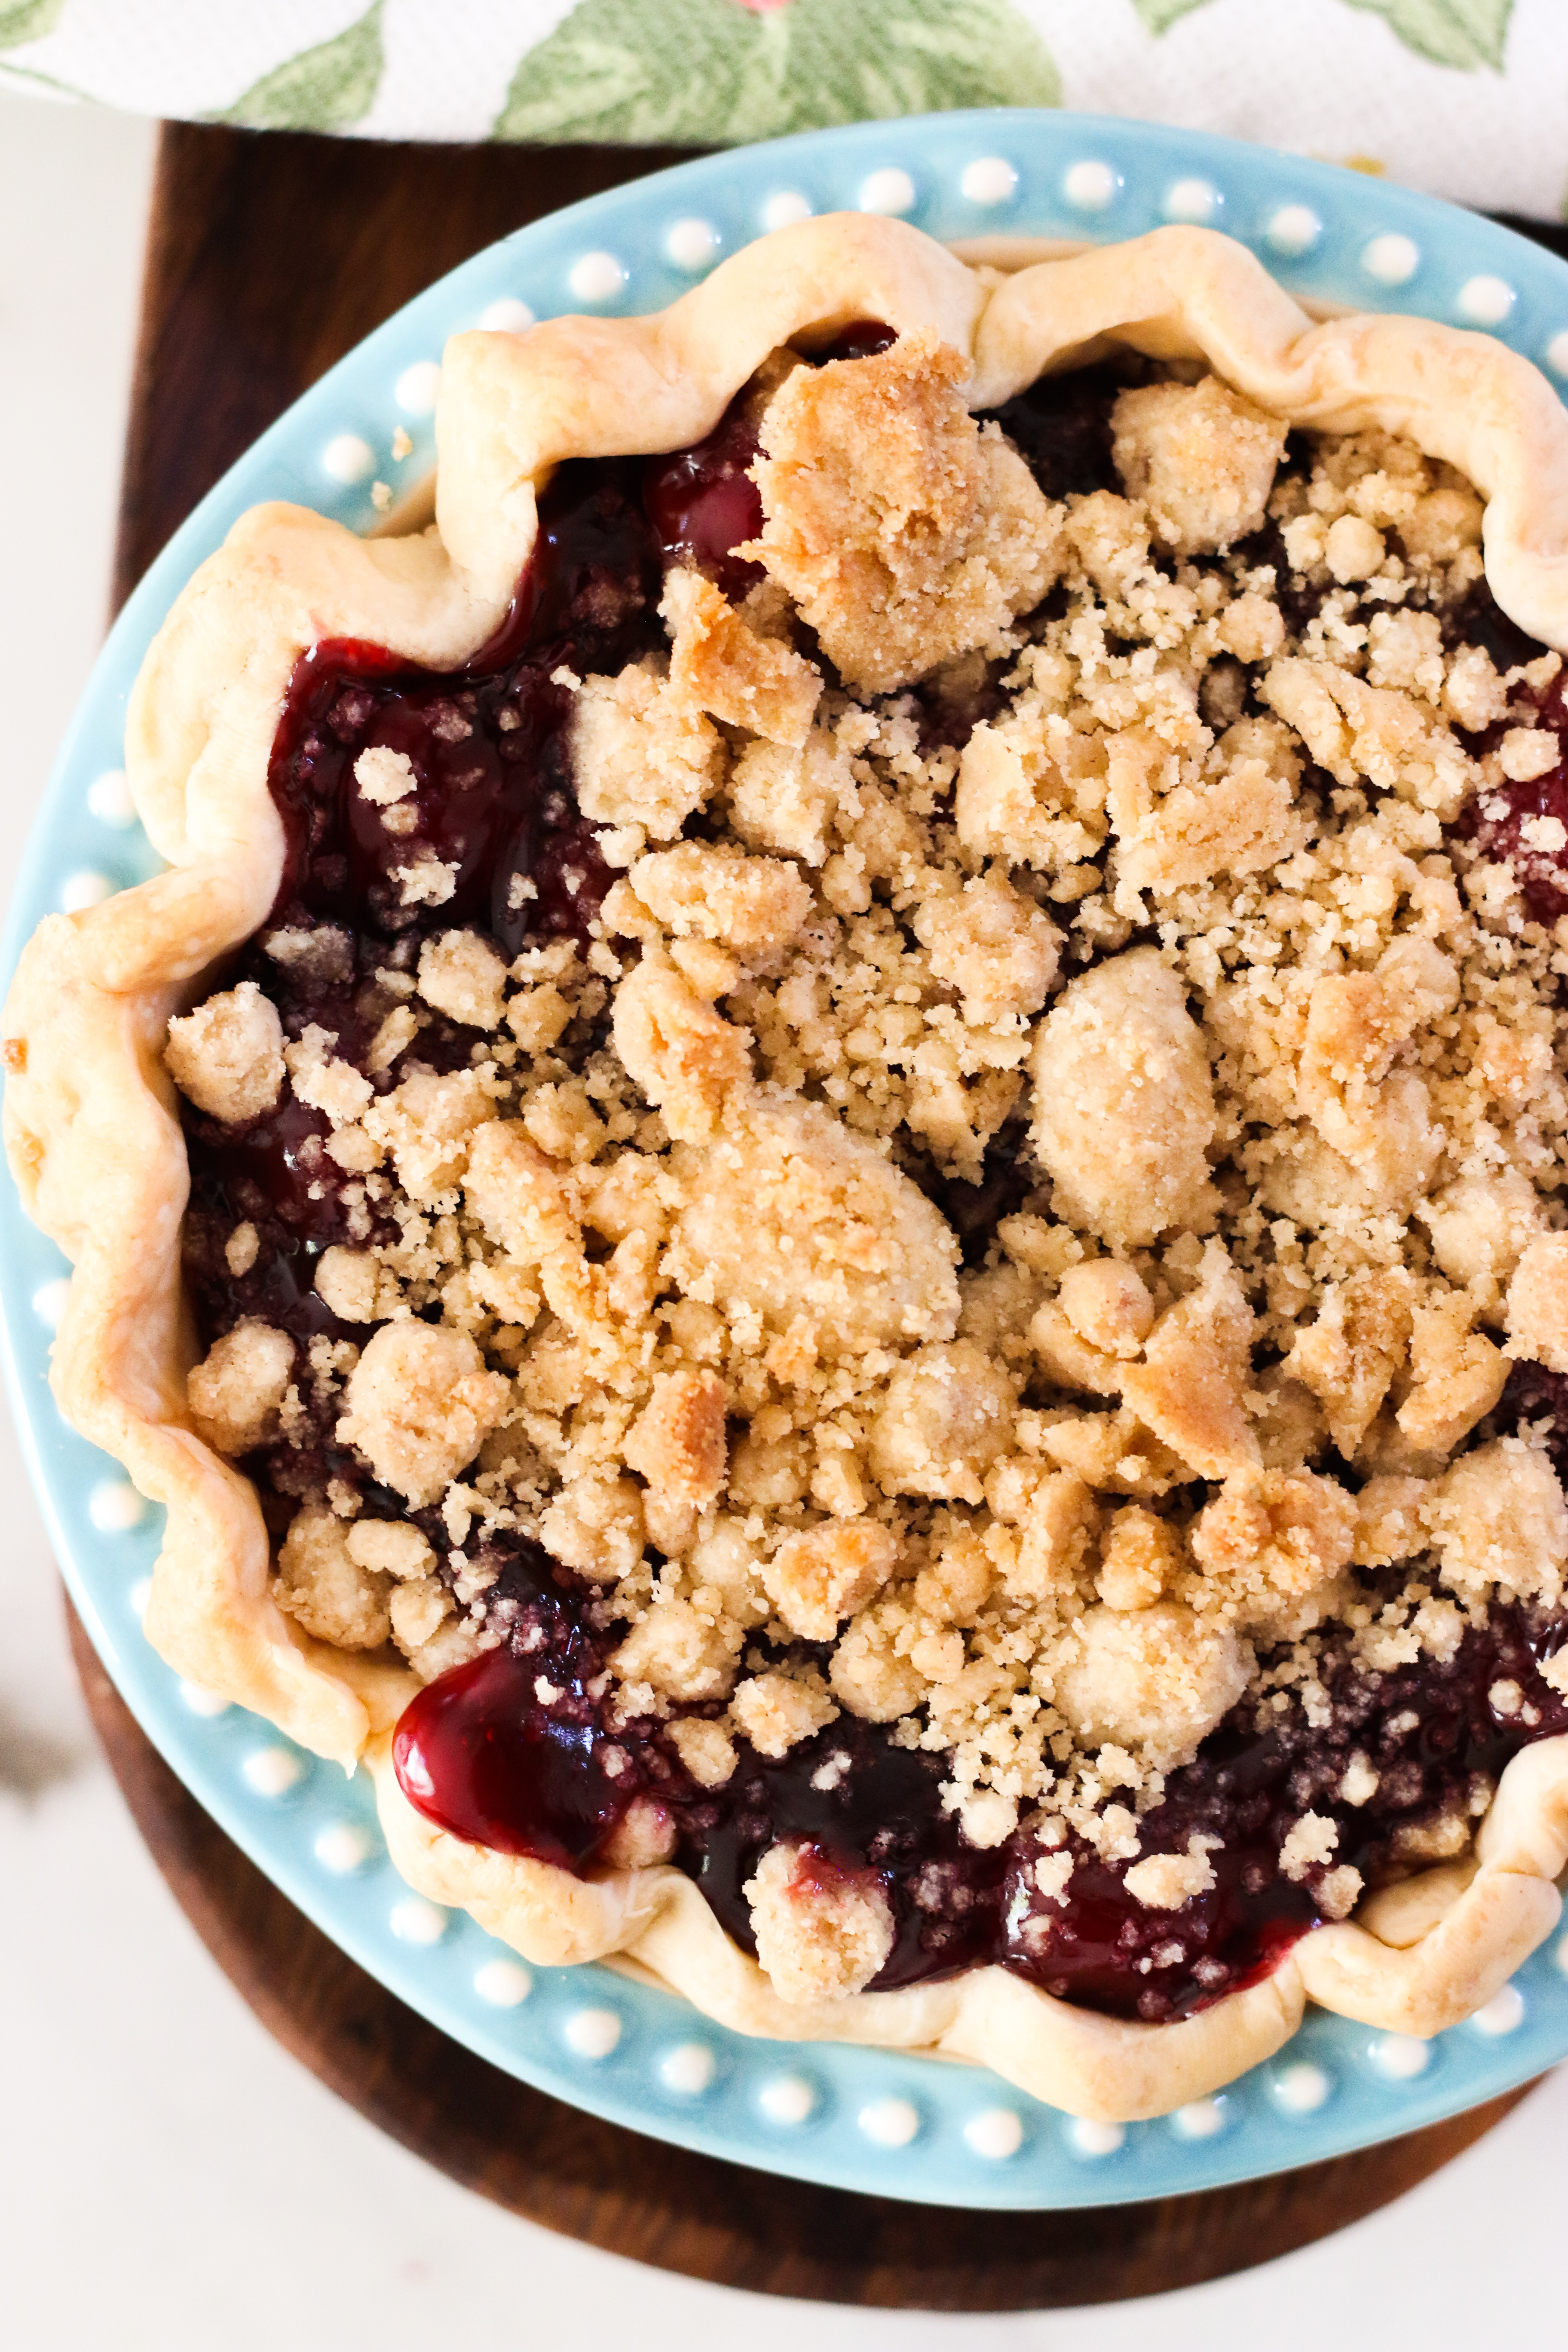
                    This mini cheery pie is the perfect 5 inch pie that can easily feed dessert to 1-2 people. If you need a recipe for one perfectly small cherry pie, this is for you! 


                    Mini Cherry Pie


                    Cherry pie just screams all things summer to me. From outdoor BBQs, picnics, The Fourth of July, it's perfect. Bonus points that cherries are in season and you can even go pick your own cherries for your very own pie. We won't put those directions in the recipe card, but if you want to be a hero, definitely go pick you own cherries.


                    Mini Cherry Pie:

                    This cherry pie can be made with fresh or frozen cherries, and basic ingredients that you already have on hand in your pantry. I put a crumb topping on this pie because I personally think it tastes better, and making a pie crust look pretty enough for photos is not my strong suit. If you prefer pie crust over crumb topping that is totally up to you, and you can easily make that switch without having to adjust the cooking time. 


                    Mini Cherry Pie


                    Cherry Pie Filling Ingredients:

                    This cherry pie filling is super easy to make! If you use frozen cherries you won't have to worry about taking the pits out. If you purchase fresh cherries you will have a little extra work with washing and cutting out the pits. 

                    • 1 3/4 cups pitted tart cherries, thawed if frozen 
                    • 1/3 cups granulated sugar 
                    • 1/8 cup cornstarch 
                    • 1/4 tablespoon lemon juice 
                    • 1/2 teaspoon vanilla extract 

                    To make the filling simply put all the ingredients together in a sauce pan on the stove, and cook and let it come to a low boil until the cornstarch and sugar dissolves and the mixture becomes thick. The remove from heat and set aside.

                    Mini Pie Crust:

                    If I'm being honest, I used a store bough pie crust to make this recipe and I think that is a totally valid and appropriate route to go. If you do want to make one mini pie crust, feel free to use this mini pie crust recipe as a guide. It will also teach you the proper method of folding over the top edge of your crust for crimping.

                    Mini Cherry Pie

                    Kitchen Tools for Mini Cherry Pie:

                    There aren't many kitchen tools you need for making Mini Cherry Pie other than a mini pie plate. I've been using these mini 5-inch pie plates from the Pioneer Woman Collection at Walmart for several years now and I really love them. They're super cute and come in adorable floral prints, and are the perfect size for a single serving cherry pie.

                    If you liked this post, Mini Cherry Pie, you might also like:
                    Single Serving Apple Pie

                    Single Serving Apple Pie

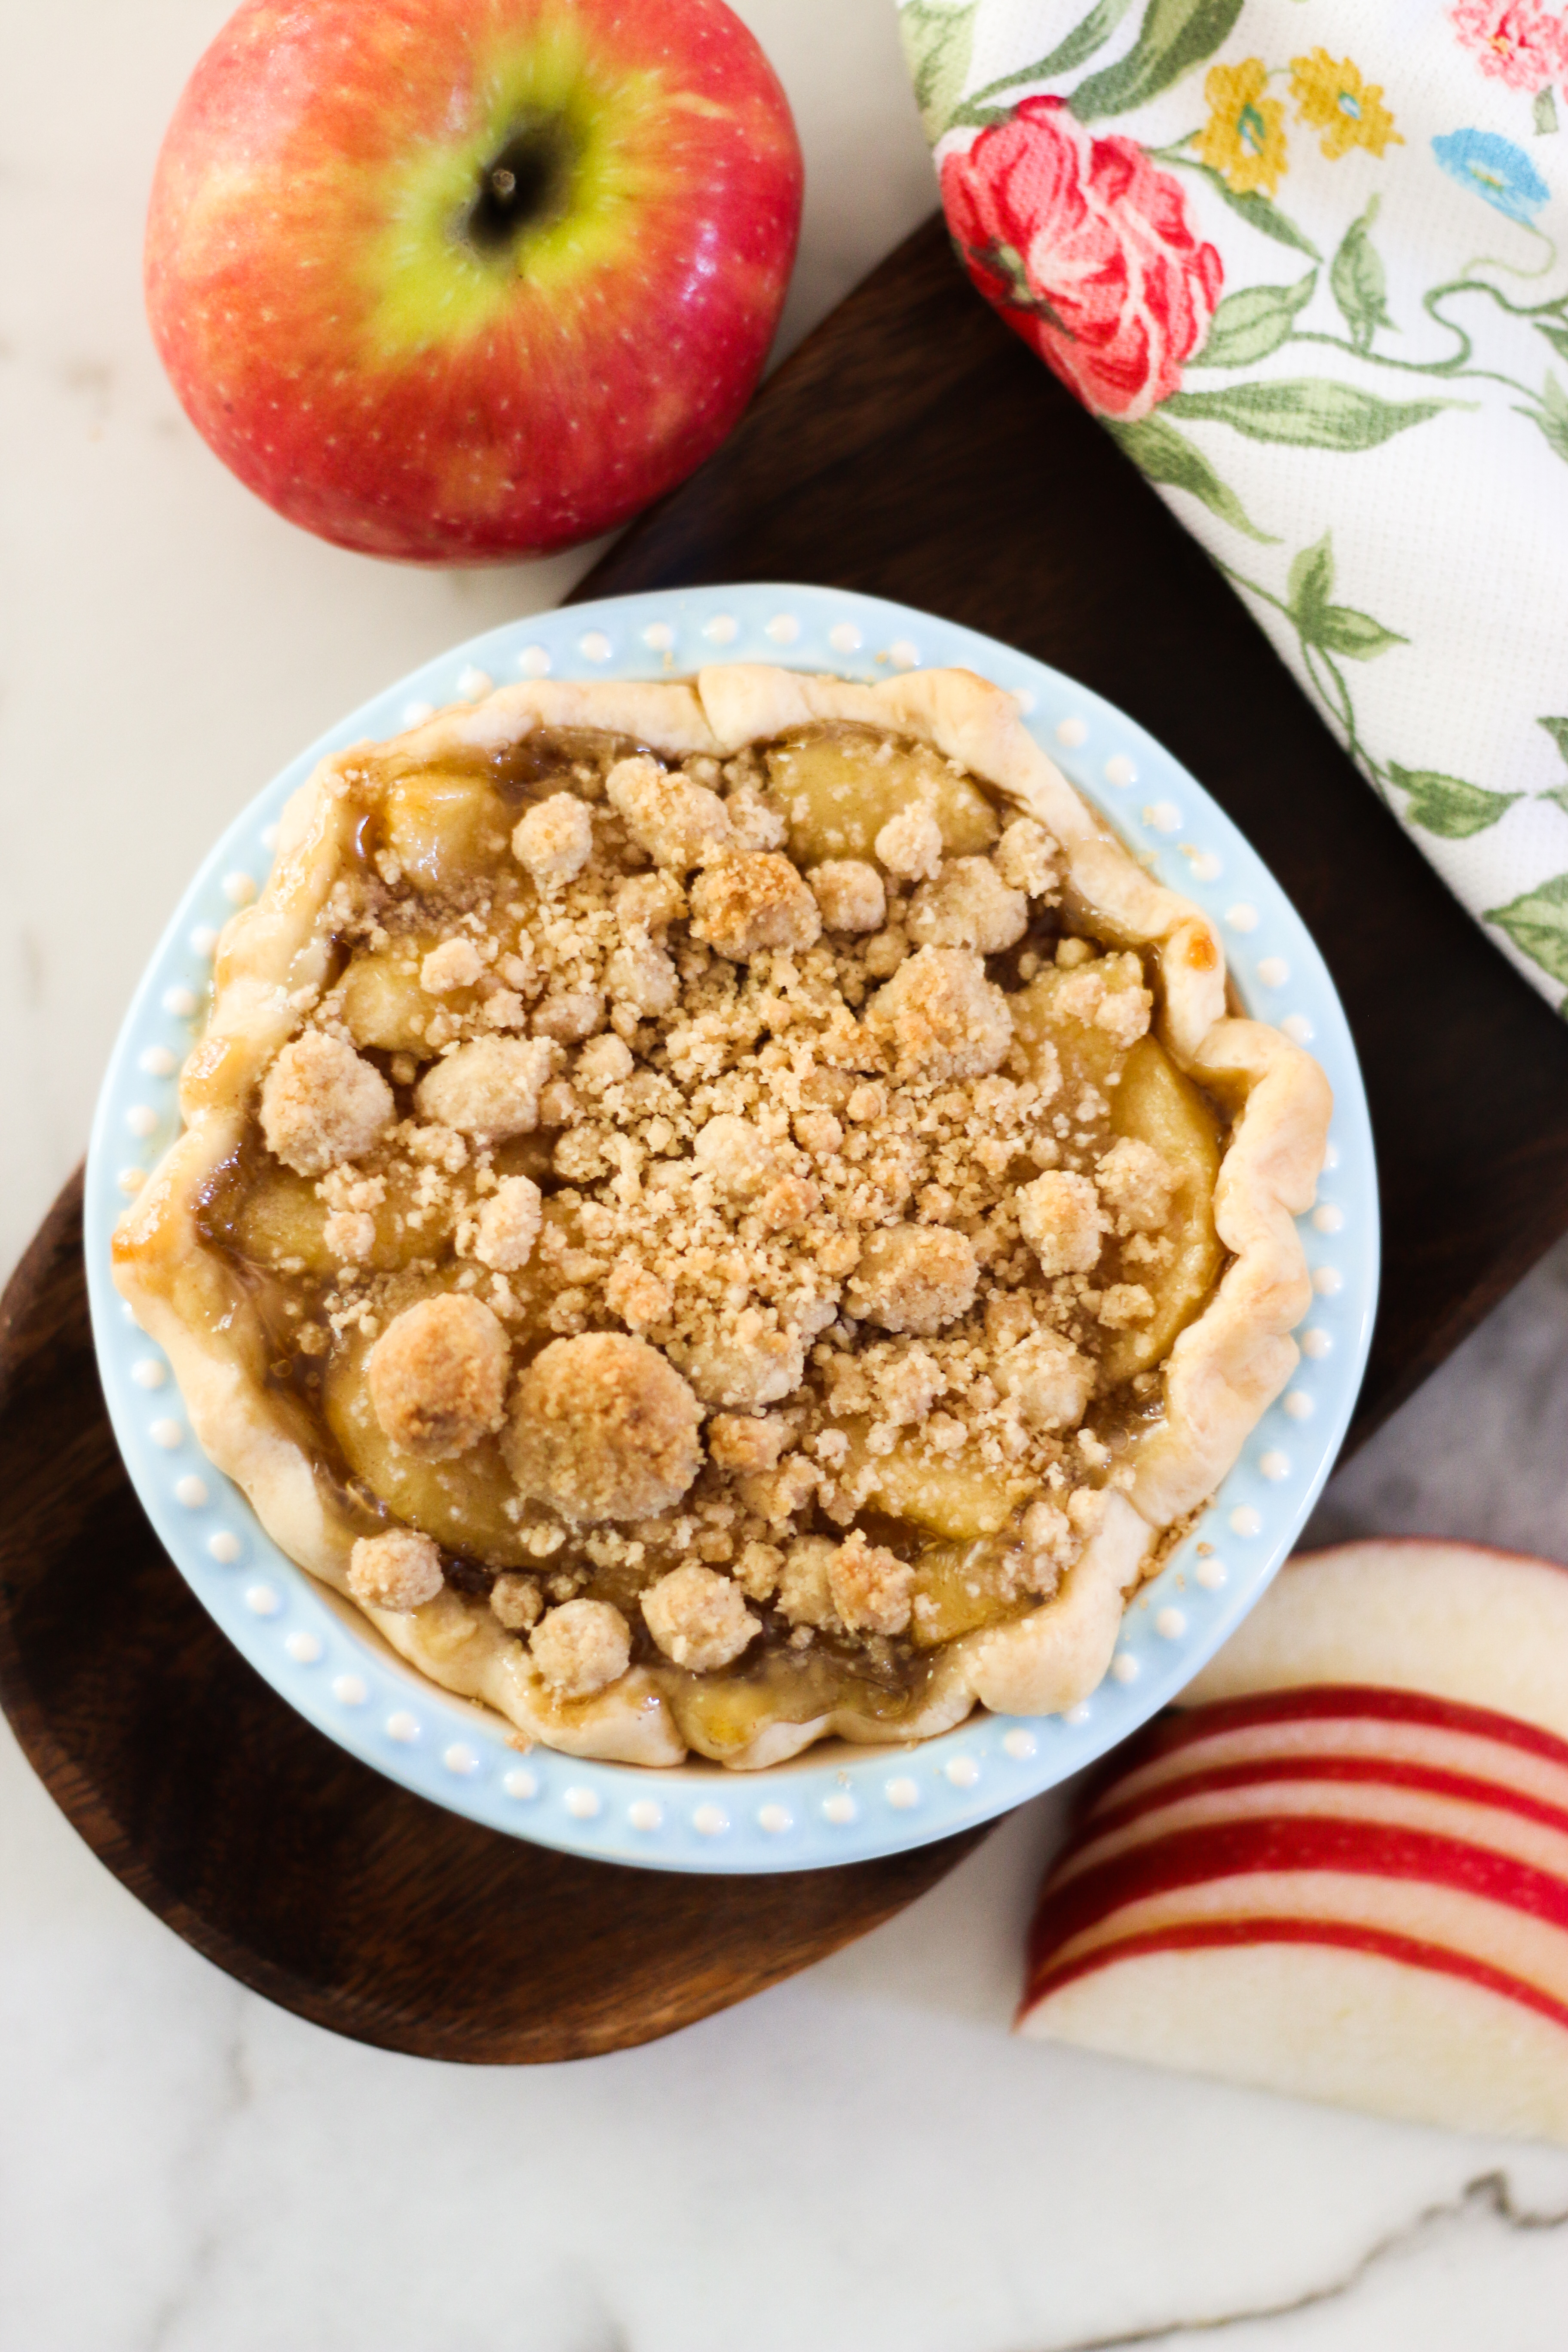
                    This single serving apple pie recipe is the perfect summer treat to make! If you want to make a small apple pie for one, this recipe is for you! 


                    single serving apple pie


                    Apple pie is such a classic dessert. It's great in the summer for the Fourth of July, in the fall to celebrate autumn, and is the perfect ending to Thanksgiving or Christmas dinner. It's really one of the more superior desserts out there. It's only practical to assume that one would want to make a single serving portion of this glorious treat any day of their life. 


                    Single Serving Apple Pie:

                    This single serving apple pie is made in a 5 inch pie plate and is the perfect amount of pie to make for 1-2 people. As a family of four, we typically make several of these pies at one time and even with four people we cut mini slices and they still last us a couple days. You won't be feeling a lack of pie with this mini apple pie. They are very similar to those tiny single apple pies you can purchase in the bakery section at your local grocery store. 


                    single serving apple pie

                    Apple Pie Filling Ingredients:

                    Aside from the apples, this recipe requires basic ingredients that you likely already on on hand in your pantry. To make this apple pie filling you will need:


                    • 1/4 cup water 
                    • 1/4 Tbsp apple juice, apple cider, or lemon juice 
                    • 1/4 cup sugar 
                    • 1/8 tsp ground cinnamon 
                    • 1/8 tsp ground nutmeg 
                    • 1/8 tsp ground clove 
                    • 1/8 cup cornstarch 
                    • 1/8 tsp vanilla 
                    • 3/4 cups apples, cored, peeled, and chopped (about 1 apple)

                    You can also take the easy way out (no judgment), and purchase a can of apple pie filling. It will make all of this infinitely easier. If you're wanting to make a pie from scratch though, continue on!

                    Mini Pie Crust:

                    You can totally purchase a store bought pie crust and just cut out the amount that you need to fill your pie plate. If you want to make a pie crust from scratch, feel free to check out my mini pie crust recipe. It's quick and easy and anyone can do it! 


                    single serving apple pie

                    Kitchen Tools for Single Serving Apple Pie:

                    There aren't many kitchen tools you specifically need for apple pie, but to make this single serving apple pie you will need a five inch pie plate. I've been using these pie plates from The Pioneer Woman collection at Walmart for several years now and absolutely love them! They're super cute, and are under $20 for four pie plates. 


                    If you liked this post, Single Serving Apple Pie, you might also like:


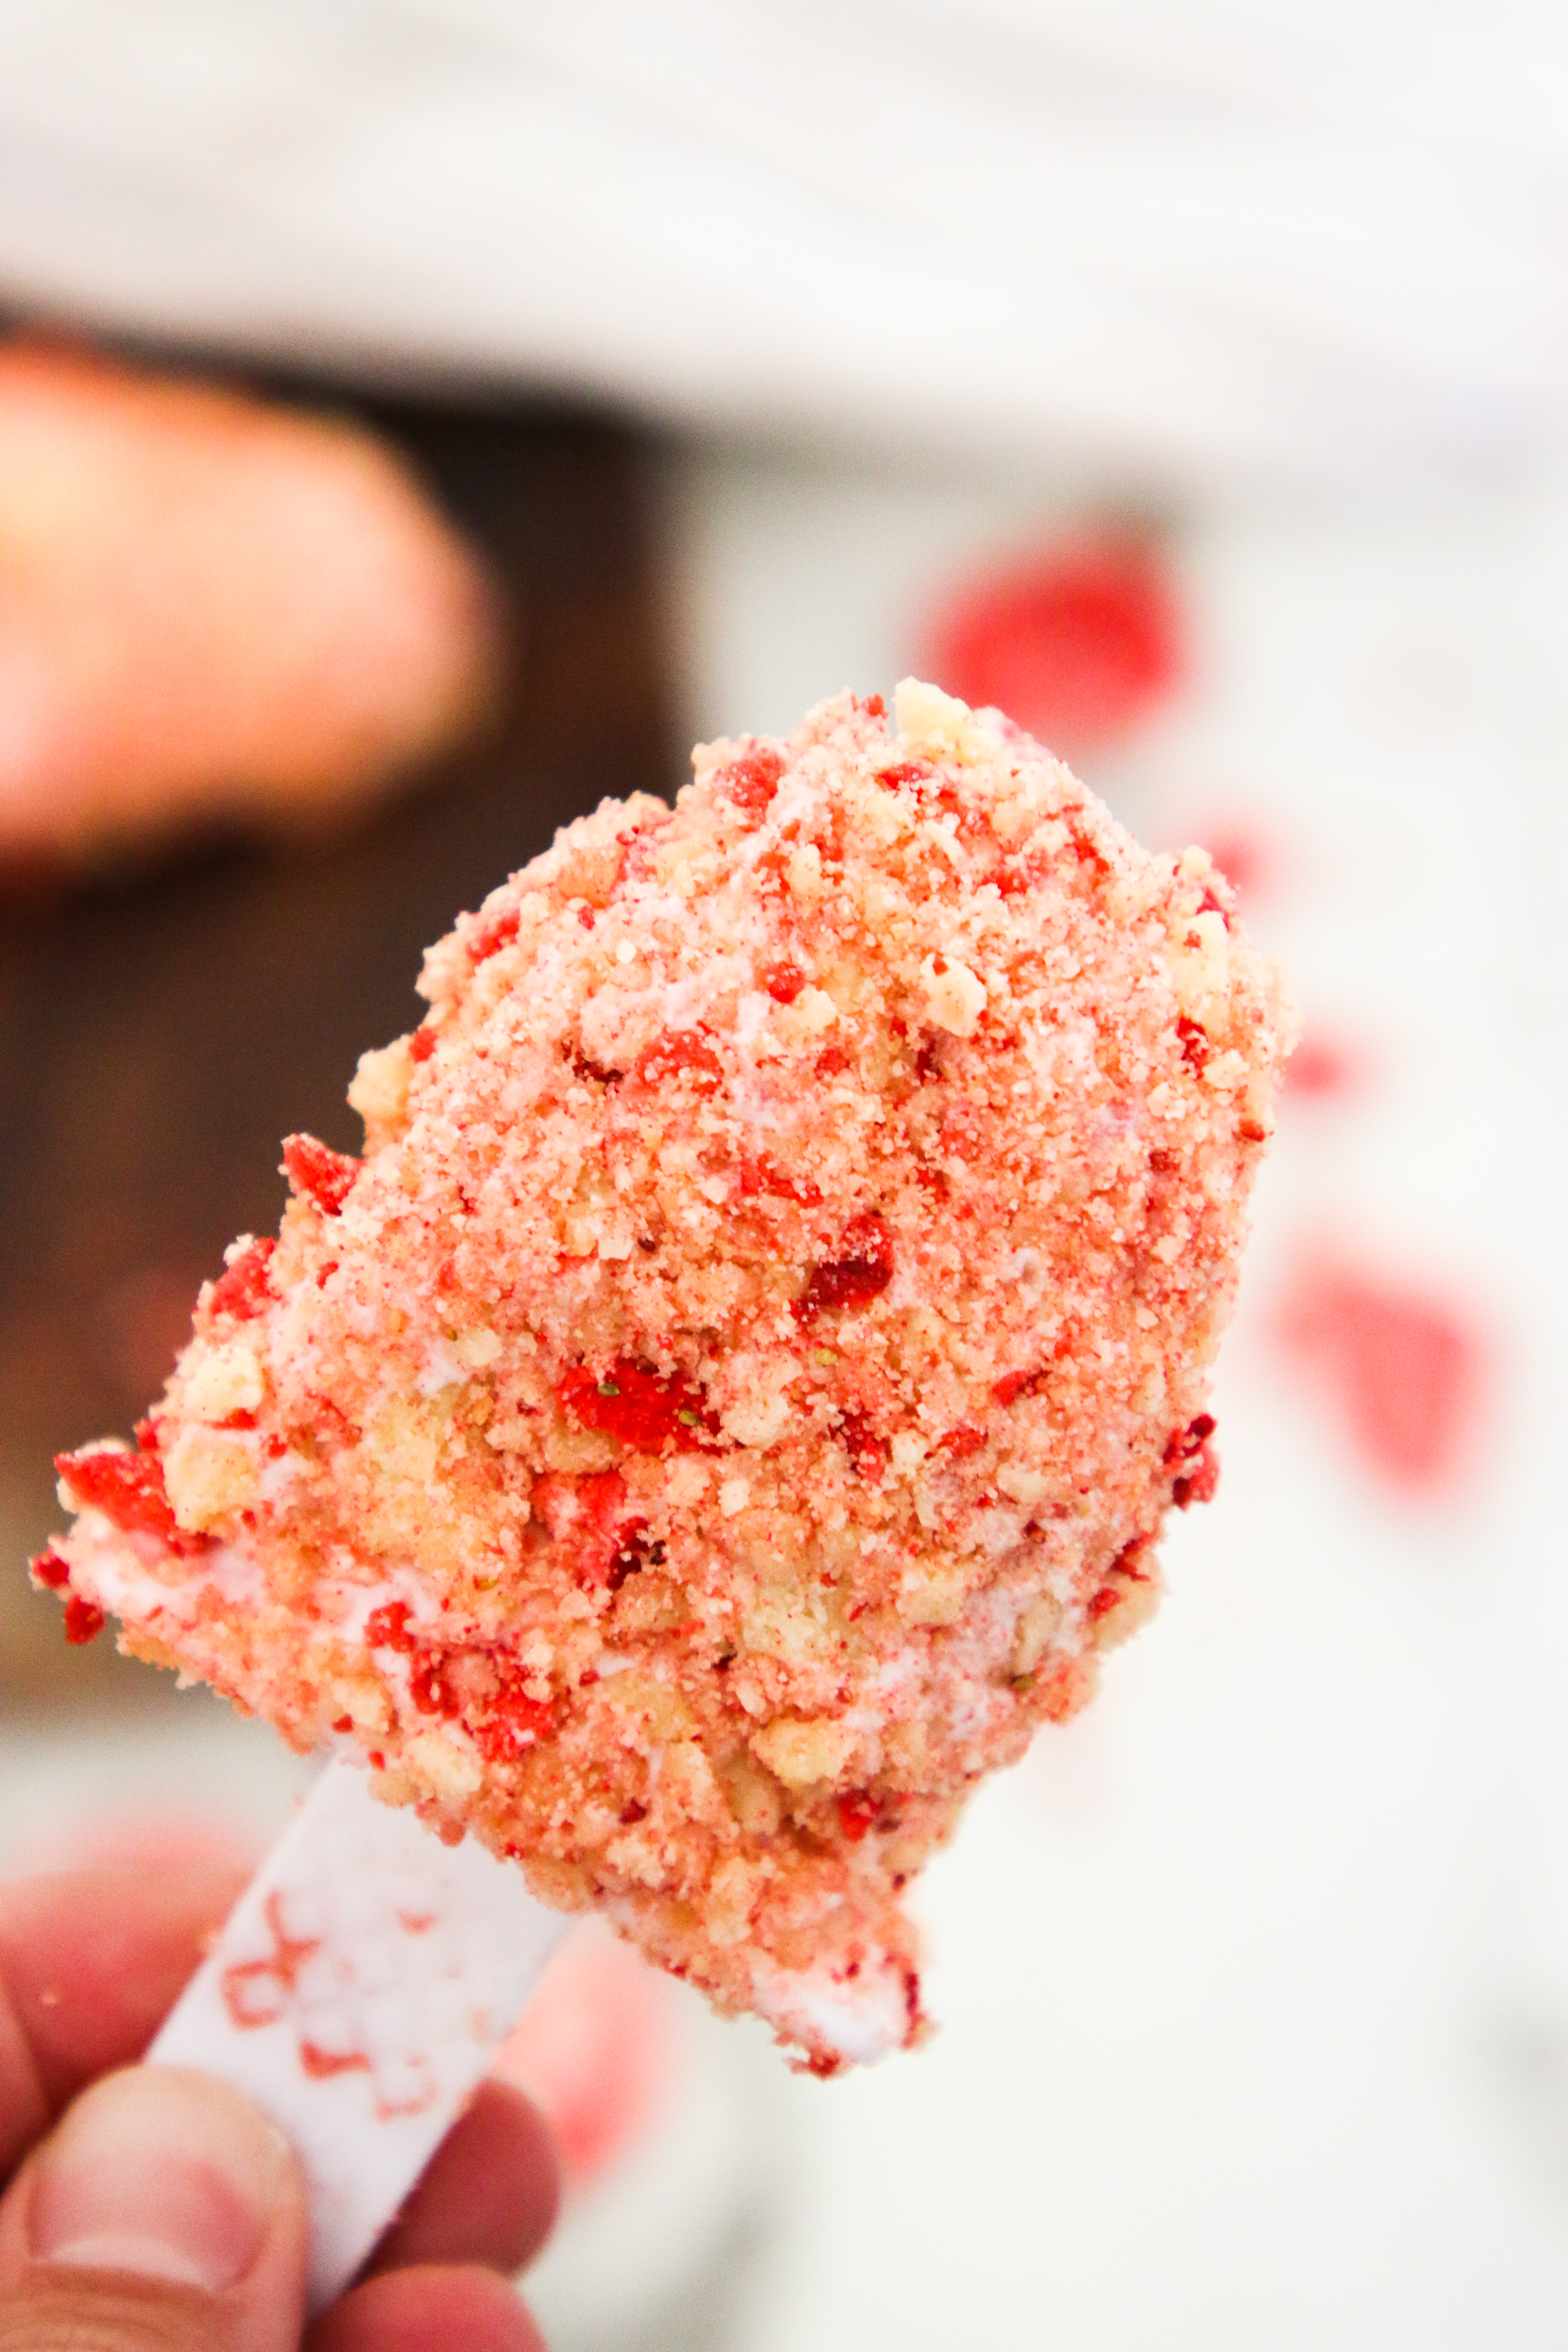
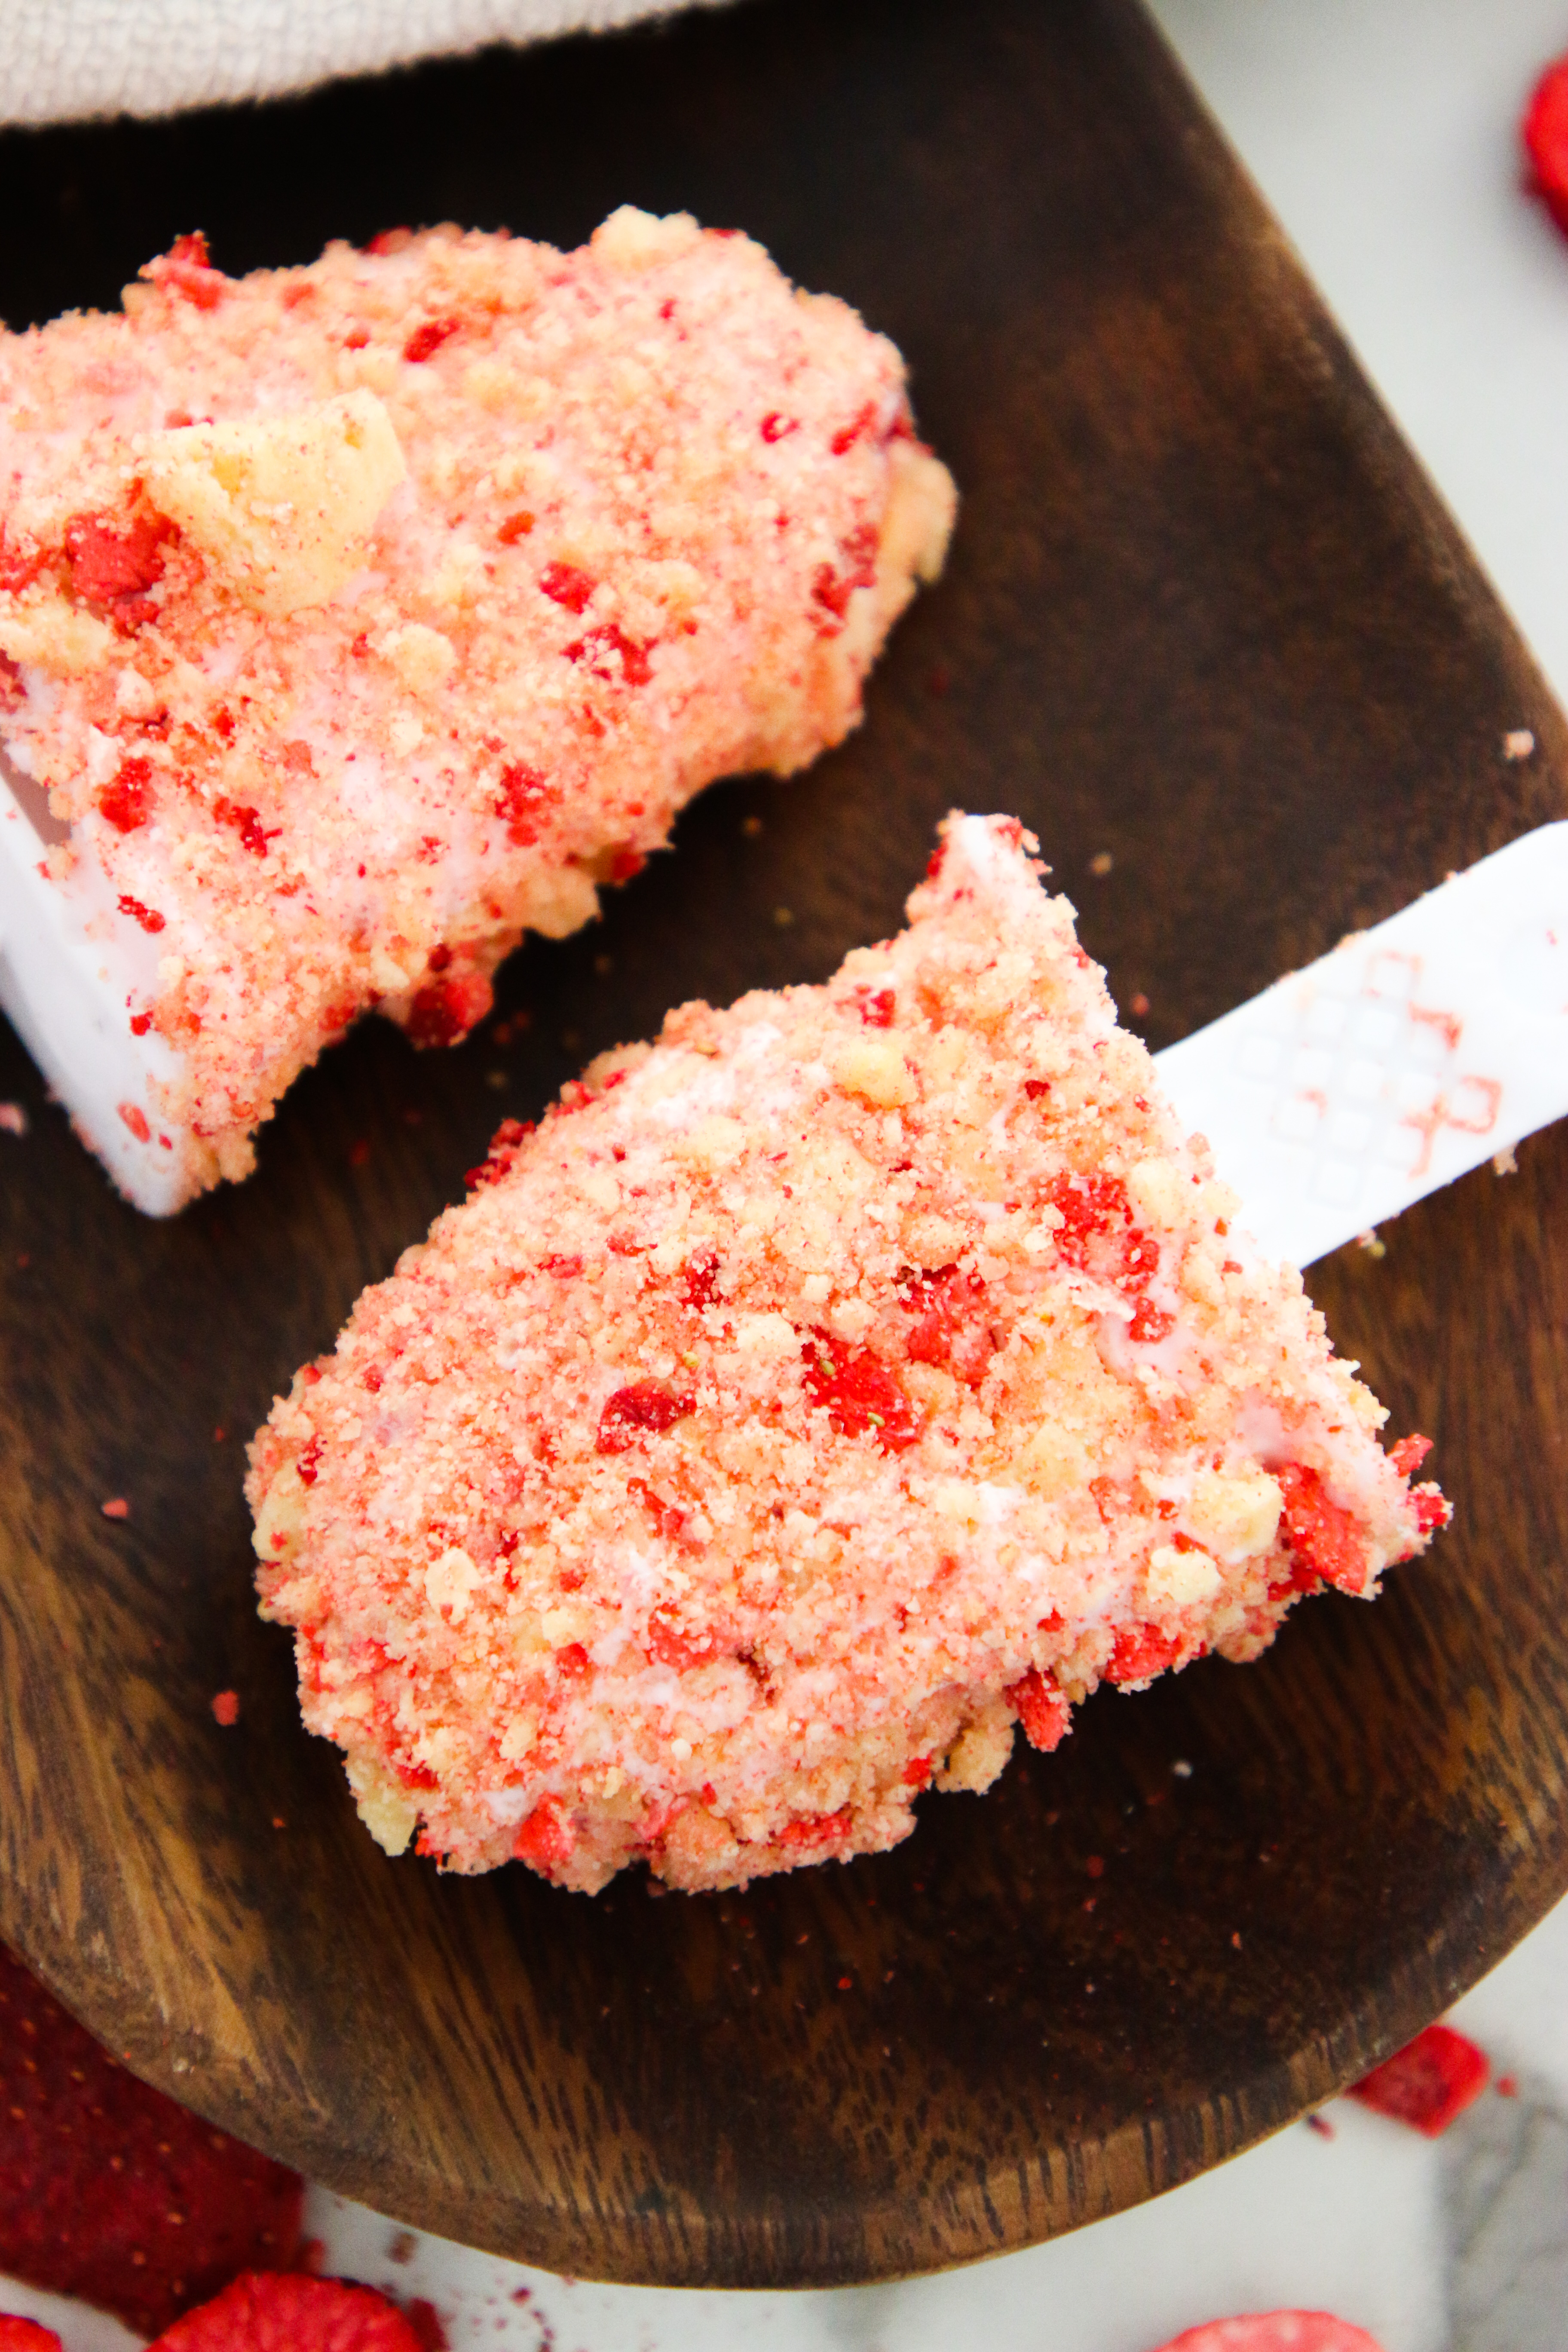
                    Strawberry Shortcake Popsicle

                    Strawberry Shortcake Popsicle

                     This strawberry shortcake popsicle recipe is the perfect summer treat that only requires three ingredients. If you want to relive some childhood nostalgia, this recipe is for you.


                    Strawberry Shortcake Popsicle

                    Strawberry shortcake popsicles have always been my favorite go-to snack from the ice cream man, or the gas station in the hot summer months. There is something that is just super nostalgic about them. If you too loved a good strawberry shortcake popsicle growing up, you'll be pleased to know they're incredibly easy to make, and taste even better than the store bought version.


                    Strawberry Shortcake Popsicle:

                    These strawberry shortcake popsicles come together with only three ingredients. Sugar cookies, freeze dried strawberries, and strawberry ice cream. You'll simply freeze the strawberry ice cream in a popsicle mold, blend the strawberries and sugar cookies in a food processor, and then pop the ice cream out of the molds and roll them in the strawberry and cookie mixture. They're super easy to make and taste AMAZING. 


                    Strawberry Shortcake Popsicle

                    Kitchen Tools for Making Strawberry Shortcake Popsicles:

                    To make strawberry shortcake popsicles you will need a popsicle mold, and a food processor. I've been using this Cuisinart food processor for several years now and find that it meets all my food processing needs very easily. It's tiny but mighty. 

                    You will also need a good popsicle mold. I've used several different popsicle molds over the years and I've found that I like the silicone molds best. Sometimes the plastic or metal ones end up sticking to the popsicle a lot and make the stick come straight out of the popsicle, and leaves the popsicle behind in the mold. The silicone ones allow you to squeeze the popsicle up out of the mold without damaging the popsicle and still leaving the stick in tact. I've been using this silicone popsicle mold for my recipes and have been very pleased with it so far. 

                    Strawberry Shortcake Popsicle

                    How Long Do Strawberry Shortcake Popsicles Last? 

                    This strawberry shortcake popsicle recipe will last for up to a month in the freezer when stored in an airtight container or a ziplock freezer bag. We recently purchased these rubbermaid containers on Amazon and really love how well they work! 

                    If you liked this post, Strawberry Shortcake Popsicle, you might also like:

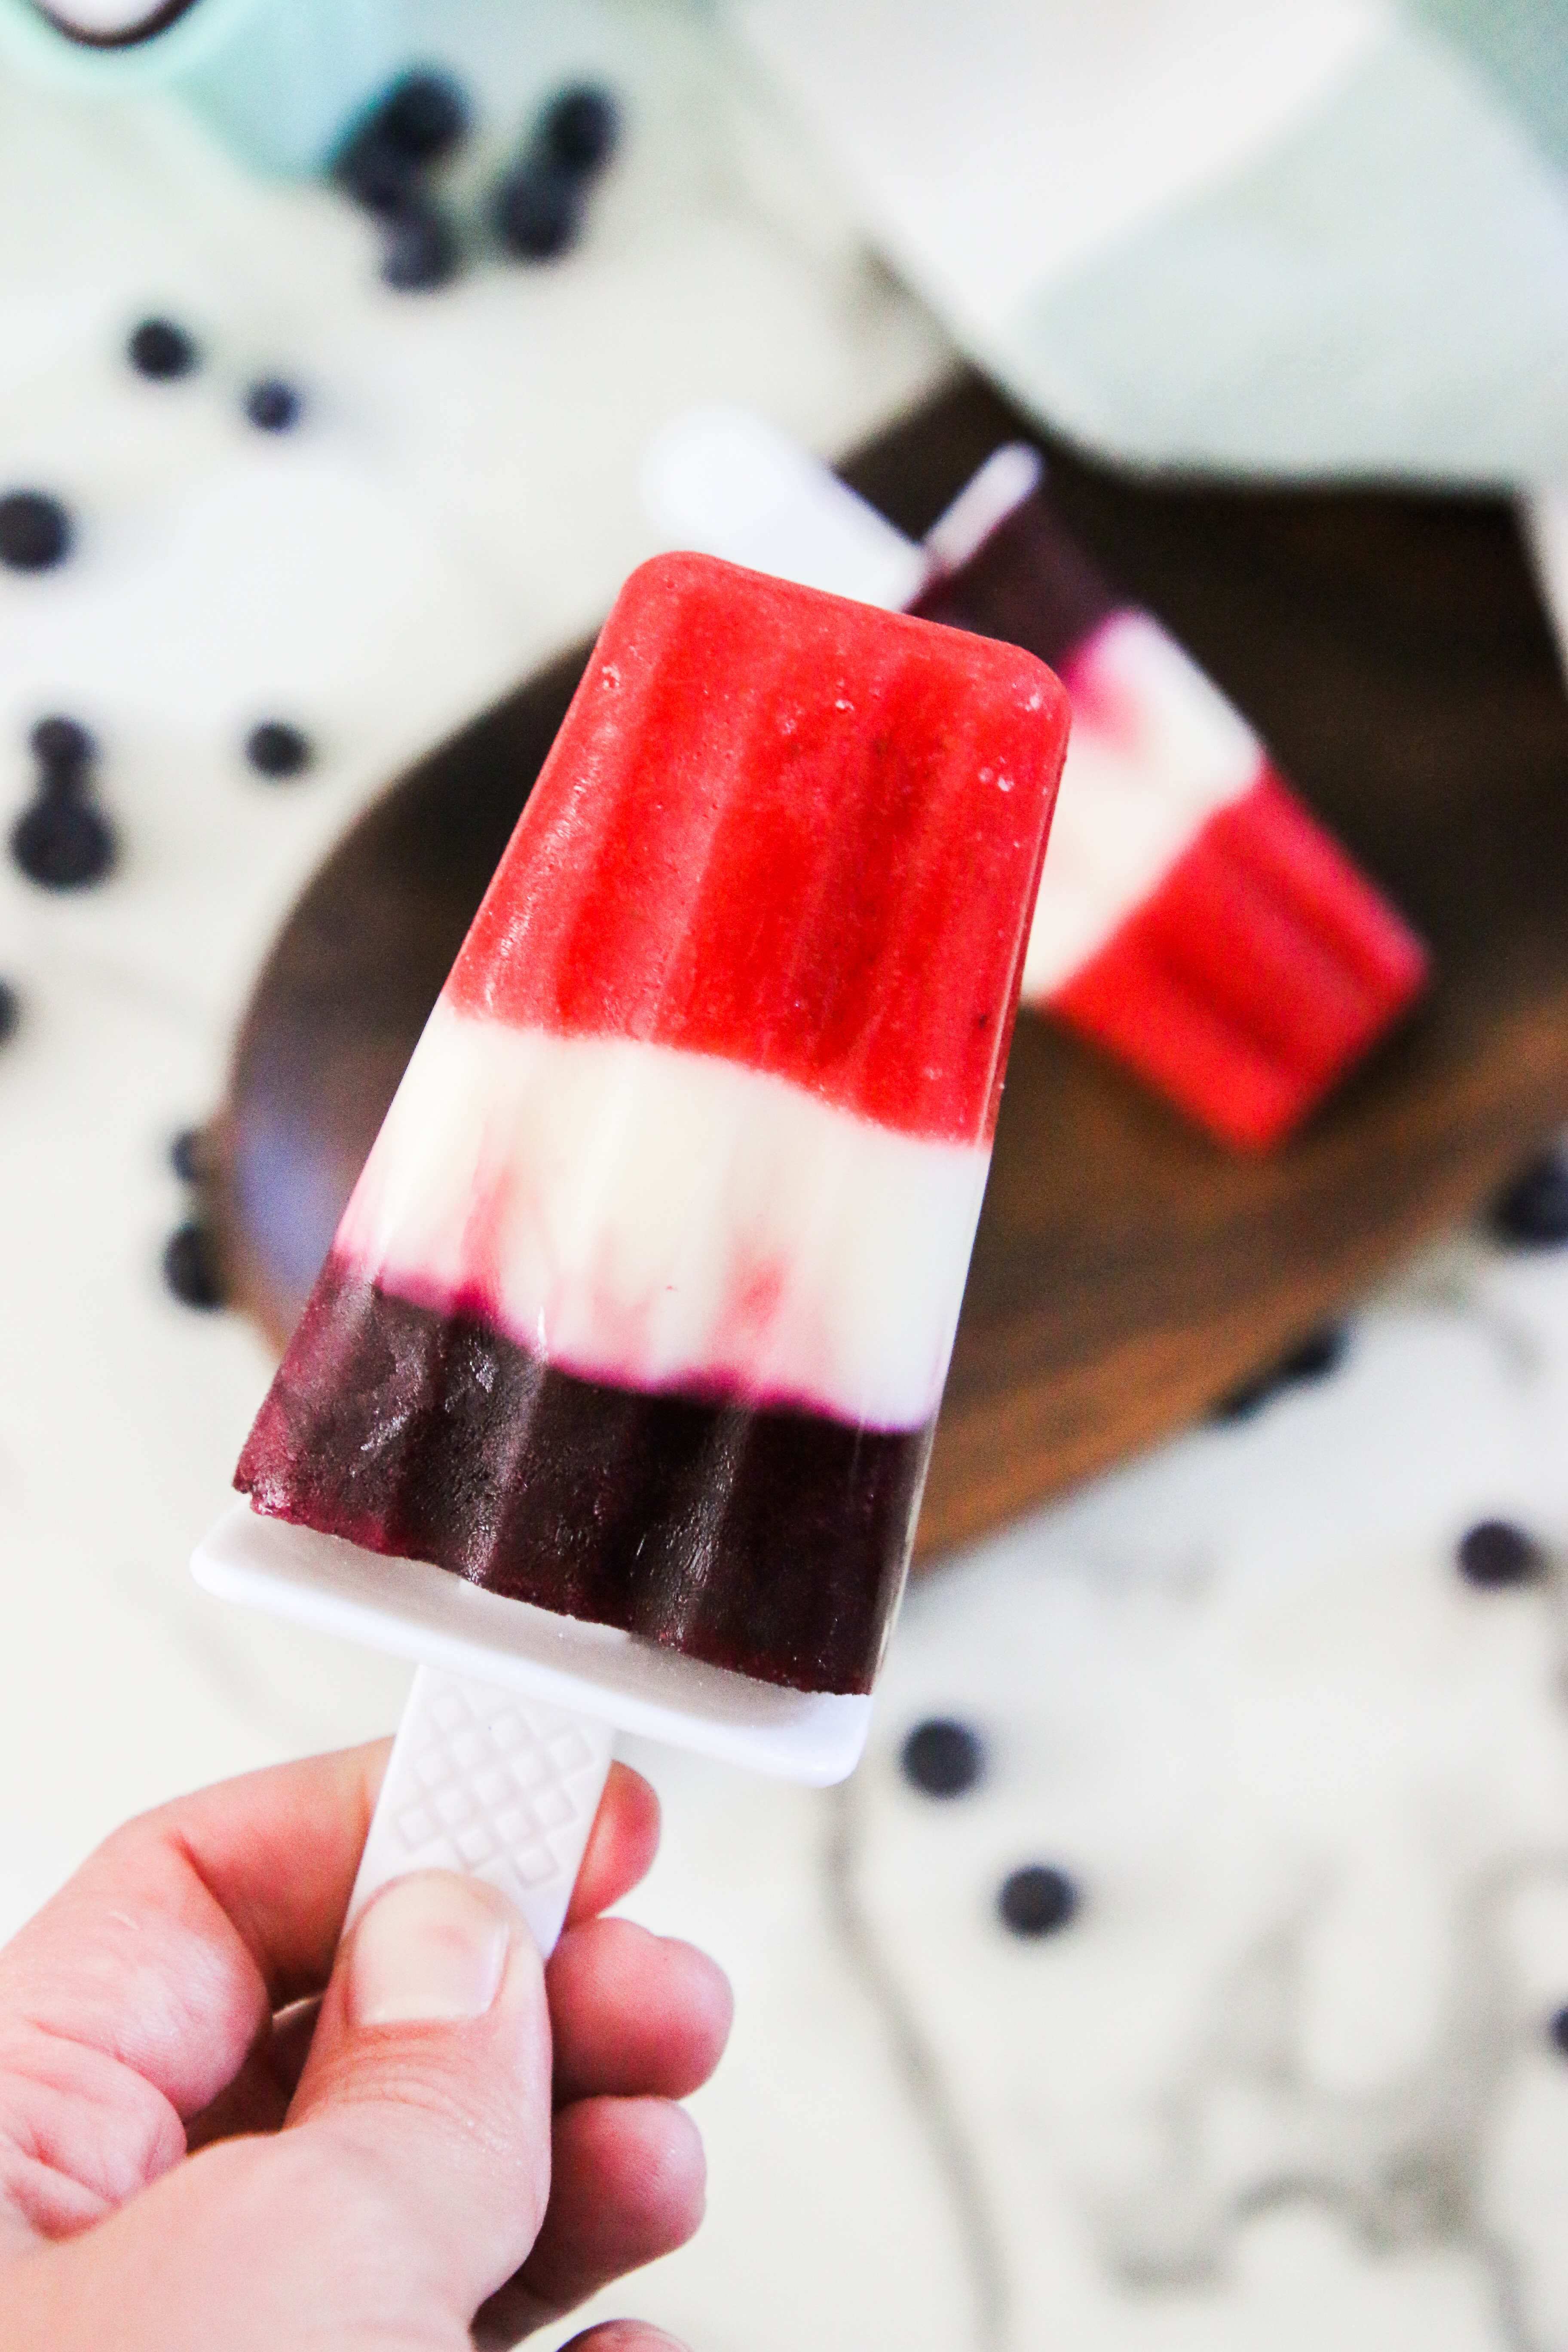
                    Red White Blue Popsicles

                    Red White Blue Popsicles

                    Red White Blue Popsicles are the perfect holiday treat when celebrating The Fourth of July, Memorial Day, or Labor Day. These popsicles are made with real fruit and taste amazing! 


                    Popsicles are the perfect summertime treat and I love that they're super easy to make at home. Popsicles are a great treat to make since they can easily be stored in the freezer, and will last a long time since you're likely not going to eat the entire batch in one sitting. 


                    Red White Blue Popsicles

                    Red White Blue Popsicles:

                    These red, white, and blue popsicles are super easy to make with simple and easy ingredients. The "red" layer comes together with a mixture of strawberries, lemon and lime juice, and sugar blended together in the blender. The "white" layer is a mixture of plain whole milk yogurt, heavy whipping cream, lemon and lime juice, and a pinch of sugar. The "blue" layer comes together by blending blueberries, lemon and lime juice, and a pinch of sugar together in the blender. 

                    The end result is a sweet, tangy, and fruity popsicle that everyone will love! 


                    Red White Blue Popsicles

                    Kitchen Tools You'll Need for Red White Blue Popsicles:

                    Making popsicles does require a few specific cooking tools that you'll want to make sure you have on hand before you get started. A good blender is a definite must. I've been using the Kitchen Aid one linked below for years and have never had an issue with it. It's definitely my favorite high speed blender! 

                    You'll also need a fine mesh metal strainer to strain away all the seeds in the popsicles. The rubber spatula will also come in handy during this process to press all the liquid out of the strainer and into a bowl below. 

                    Popsicle molds are also very important for this process. I have linked below to the exact set that I used to make these popsicles. If you want these popsicles to look like the traditional rocket shaped red, whiter, and blue popsicles, you could also try this rocket shaped popsicle mold. I have not used this mold though so I can't speak to how well it works. It is less than $8 though and looks like it has pretty good reviews.


                    Red White Blue Popsicles

                    How Long Do Homemade Popsicles Last? 

                    Homemade popsicles can last in the freezer for up to six weeks for best results. Popsicles should be stored in an airtight container and not in the popsicle mold. Plastic airtight containers such as these Rubbermaid ones will work great, or you can toss them into a freezer bag with all the air pressed out of it as well. 

                    If you liked this post, Red White Blue Popsicles, you might also like:
                    Mini Pie Crust

                    Mini Pie Crust

                    Mini pie crust is the perfect recipe to make when you're making small five inch pies or tiny tartlets for a small party or gathering with friends. 


                    When I made all my pie recipes several weeks ago, I had someone email and ask if I could in fact make a mini pie crust recipe. While I do love and fully support pre-made crusts from the grocery store, I thought this would be a fun and easy challenge to take on. If you're looking for a mini pie crust recipe for small five inch pies, or muffin tin pies, this recipe will work perfectly! 


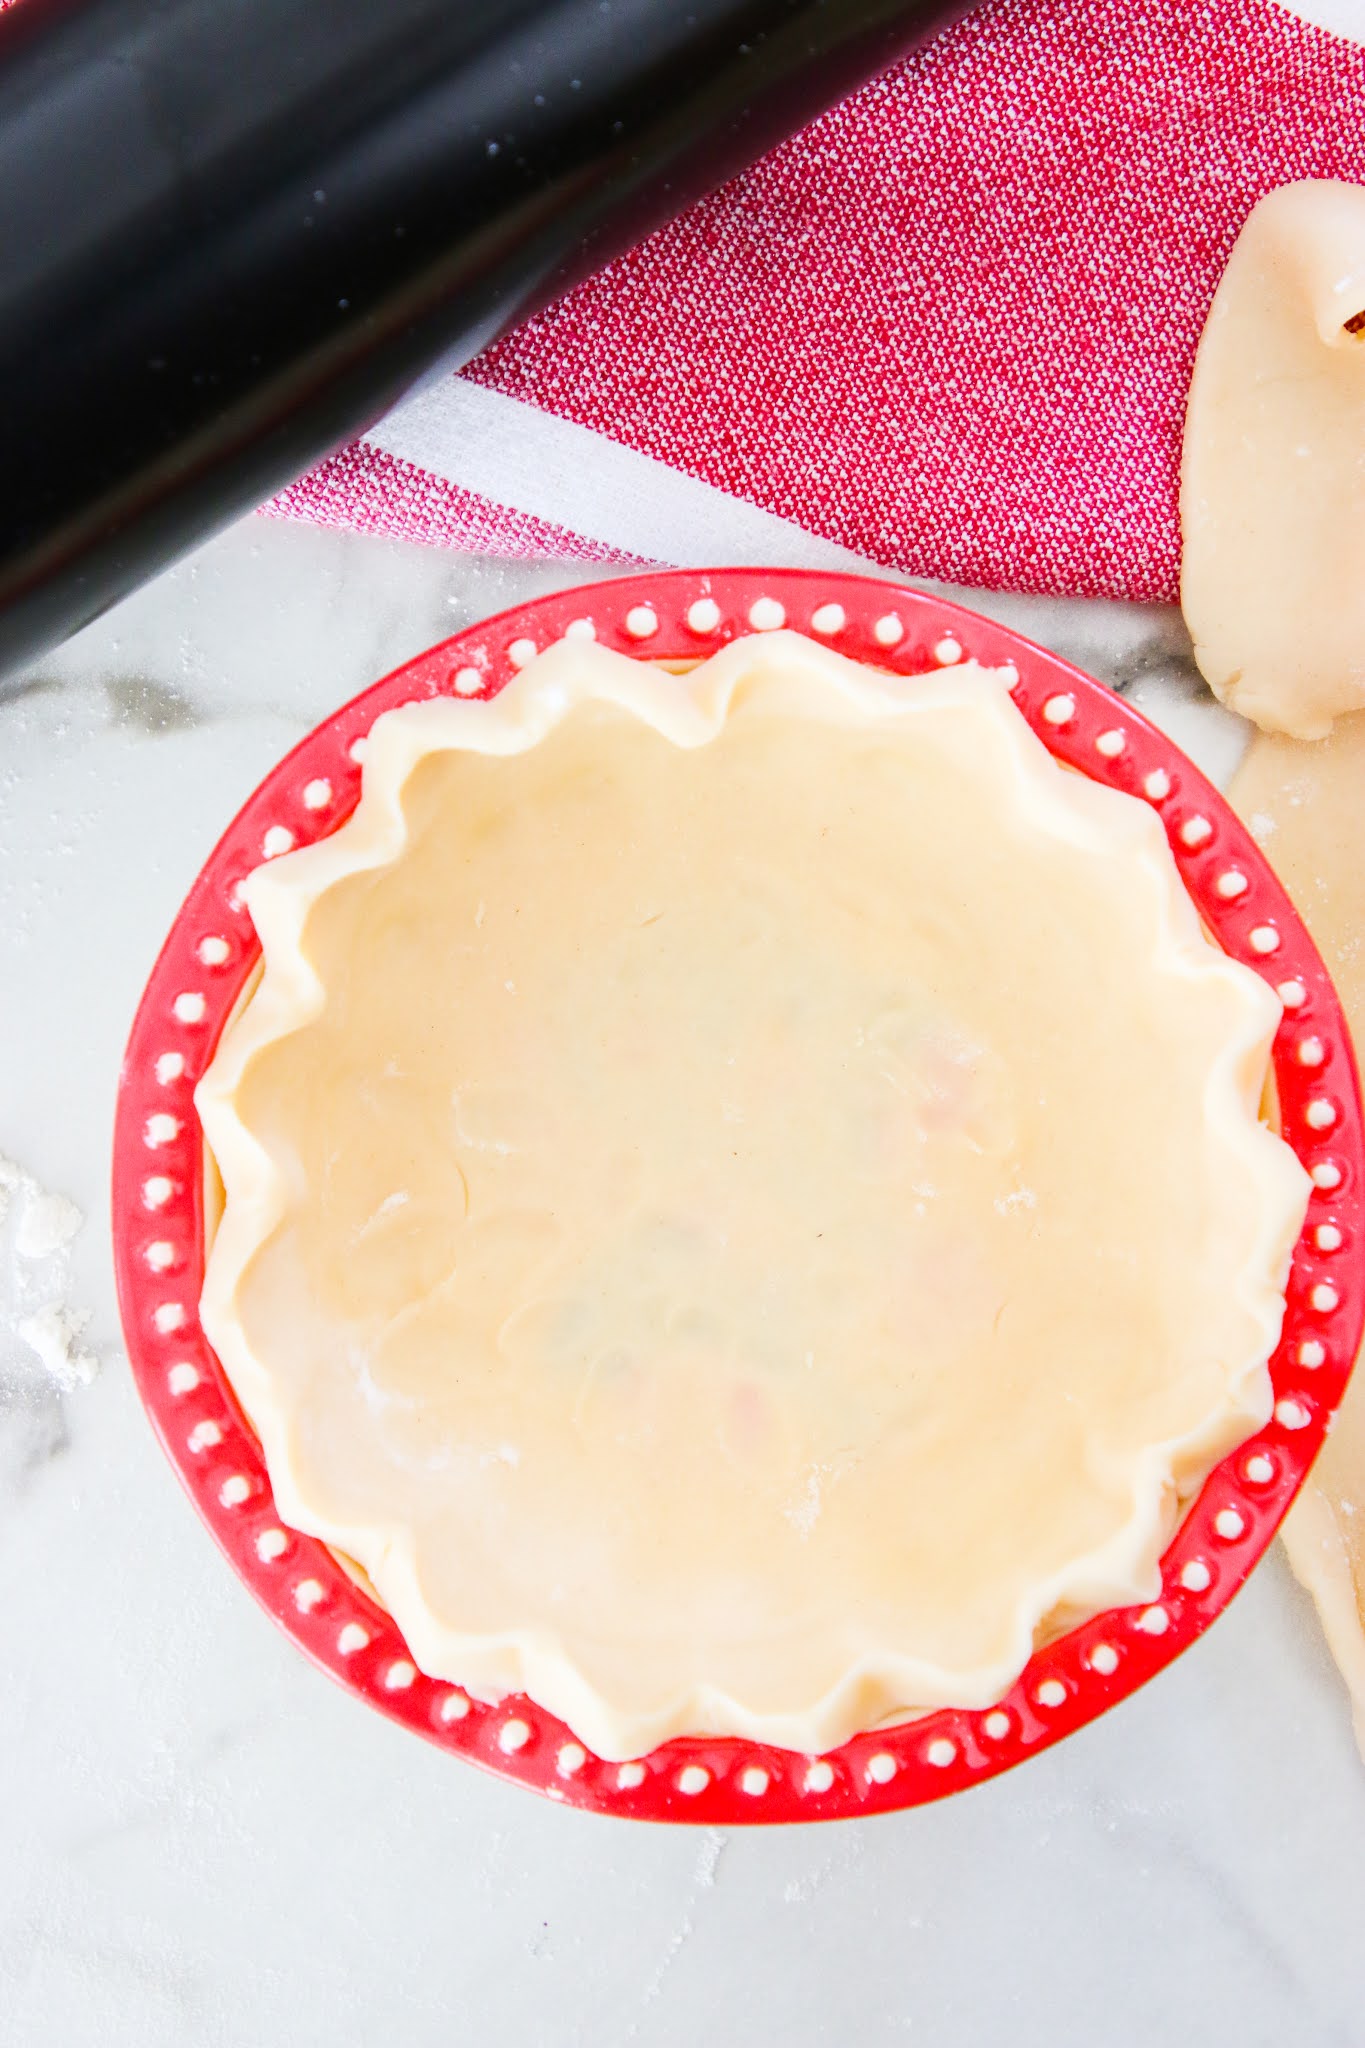
                    Mini pie crust in a mini pie dish on a floured marble table.

                    Mini Pie Crust:

                    There are plenty of instances where you would want to make a mini pie crust. All of the mini pie recipes on my blog are for five inch pies, and this would be perfect to make in use with those recipes. You could also use this recipe if you wanted just one crust for a traditional size pie, or you could use it to make super mini pies using a muffin tin. This recipe and dough is super easy to work with, and will result in perfect crust every time. 


                    Mini pie crust in a mini pie dish on a floured marble table.

                    Making Pie Crust:

                    Making pie crust is a pretty straight forward process. First you're going to pulse together the flour and salt in a food processor until well combined. Then you're going to add the cold butter and shortening. Pulse this together until the mixture resembles coarse sand. Finally, pulse in 1 tbsp of ice cold water at a time until the dough just barely starts to form a large clump. You want your dough to be slightly dry, but still able to hold together. You do not want a wet dough. 

                    Turn the dough out of the processor, and onto a floured surface. Roll into a smooth ball and cover with plastic wrap and chill in the fridge for two hours.  

                    Then carefully turn the dough out of the plastic wrap and roll the dough on a floured surface until it's about 1/8in thick and place it into your pie dish, or whatever you're using to create your pies. Bake in the oven according to the pie recipe instructions that you're using. 


                    Mini Pie Plates:

                    I love using these mini pie plates that I purchased from Walmart. They're five inches in diameter, come in a pack of four with a variety of colors and floral designs. They're also microwave and dishwasher safe and I've used them for baking several different mediums with success every time! They're great for pies, cakes, quiches, frittatas and more!


                    Mini pie crust in a mini pie dish on a floured marble table.

                    How to Crimp Pie Crust Edges:

                    When you place the pie crust over your pie dish, carefully push the dough into the bottom and up the sides of the dish. You'll likely have dough hanging over the dish. Using kitchen scissors trim away the excess dough until there is only about 1/2 inch hanging over. Fold the excess dough that is hanging over the dish underneath the dough in the crust so that it is flush with the top of the pie dish. Using your knuckle on one hand, and you thumb and finger on the other, go around the dish crimping the edges all the way around. 


                    Yield: 1
                    Author: Paige Flamm
                    Mini Pie Crust

                    Mini Pie Crust

                    Mini pie crust is the perfect recipe to make when you're making small five inch pies or tiny tartlets for a small party or gathering with friends.
                    Prep time: 10 MinInactive time: 2 HourTotal time: 2 H & 10 M

                    Ingredients

                    • 1 and 1/4 cups all-purpose flour (spoon & leveled)
                    • 1/2 teaspoon salt
                    • 3 Tablespoons  unsalted butter, chilled and cubed
                    • 1/3 cup vegetable shortening, chilled
                    • 1/4 cup ice water

                    Instructions

                    1. First you're going to pulse together the flour and salt in a food processor until well combined. Then you're going to add the cold butter and shortening. Pulse this together until the mixture resembles coarse sand. Finally, pulse in 1 tbsp of ice cold water at a time until the dough just barely starts to form a large clump. You want your dough to be slightly dry, but still able to hold together. You do not want a wet dough.
                    2. Turn the dough out of the processor, and onto a floured surface. Roll into a smooth ball and cover with plastic wrap and chill in the fridge for two hours.
                    3. Then carefully turn the dough out of the plastic wrap and roll the dough on a floured surface until it's about 1/8in thick and place it into your pie dish, or whatever you're using to create your pies. Bake in the oven according to the pie recipe instructions that you're using.

                    If you liked this post, Mini Pie Crust, you might also like:

                    Be sure to follow along on Instagram @single.serving.size to stay up-to-date on all the latest posts and recipes!